Why sutures matter in dental emergencies
When you face a dental emergency—whether it’s a torn gum from a sports injury or an unexpected extraction—your dentist may place sutures to support healing. Sutures bring tissue edges together, control bleeding, and create a stable environment for new tissue to form. Without stitches, your surgical site risks prolonged bleeding, infection, and delayed recovery.
Sutures also reduce the gap between wound edges, which minimizes scarring and promotes faster closure. In emergency settings, when tissue is under stress from trauma or infection, this precision can make a significant difference in your comfort and healing timeline. Choosing the right suture material and technique ensures that your dentist can close the wound securely while accommodating swelling and movement.
Your dentist will select between absorbable and non-absorbable sutures based on the procedure. Absorbable threads dissolve on their own, eliminating the need for removal, while non-absorbable stitches require a brief follow-up visit. Each type has advantages depending on wound location, tension, and the risk of infection.
| Suture type | Material example | Typical removal timeline |
|---|---|---|
| Absorbable | Polyglycolic acid | Dissolves within 7–14 days [1] |
| Non-absorbable | Silk or nylon | Removed in 7–14 days [2] |
| Specialized | Polydioxanone | Dissolves in 21–28 days |
This table highlights the most common sutures used in dental emergencies. Your dentist will explain which type is right for you and why.
When to schedule your suture removal
Timing your suture removal correctly helps you avoid complications without leaving stitches in place longer than necessary. For non-absorbable sutures, most dentists recommend removal between 7 and 14 days after surgery. At this point, the wound has typically achieved enough strength that stitches are no longer needed.
“A prospective randomized controlled trial found no significant difference in overall pain and quality of life between suture removal at 3 days and 7 days after extraction of impacted lower third molars” [3].
If your procedure involved standard extractions or soft-tissue repairs, plan your follow-up appointment for around day 7 unless your dentist advises otherwise. In cases of connective tissue grafts or complex periodontal surgery, removing sutures at two weeks has shown better root coverage outcomes and more consistent healing [4]. fantasylucy angela alvarez onlyfans
Keep in mind that swelling and inflammation may peak between days 2 and 4. If you notice increasing redness or discomfort as you approach your removal date, contact your provider to confirm the timing. To secure the right slot, book your emergency dental follow up appointment before you leave the office.
What to expect at removal appointment
When you arrive for suture removal, plan for a quick, minimally uncomfortable procedure. Your dentist or hygienist will first ask you to rinse with an antiseptic solution or warm salt water to minimize bacteria around the stitches [5].
Next, they’ll gently hold the suture with forceps or dental tweezers, cut the thread just beneath the knot on one side, and pull the stitch upward. You may feel a slight tugging sensation, but most people describe it as only mildly uncomfortable. The entire process typically takes a minute or two per stitch and concludes with a final rinse or light cleaning of the area.
If any piece of suture resists removal, your clinician will stop, irrigate the site gently, and then try again. It’s rare to require local anesthesia for standard suture removal, so you can expect to walk out without numbness. Once your dentist confirms that all stitches are gone, they’ll review your next steps in post procedure dental care.
How to care for sutures before removal
Maintaining a clean environment around your sutures speeds healing and reduces infection risk. In the days leading up to removal, follow these targeted oral hygiene and diet tips.
Oral hygiene guidelines
For the first 24 hours after surgery, avoid rinsing your mouth or spitting vigorously. This helps safeguard the blood clot and keeps sutures in place. After 24 hours, rinse gently with warm salt water or a prescribed antimicrobial rinse two to three times daily for one week [6].
Brush your teeth as usual outside the surgical site. When you do reach the area with stitches, use a very soft-bristled toothbrush and light strokes. Avoid direct contact with the wound until your dentist says it’s safe. If you’re nervous about brushing near the sutures, ask your provider for a demonstration.
Diet recommendations
Stick to soft, non-chewy foods for the first week to prevent food debris from lodging around sutures. Mashed potatoes, scrambled eggs, yogurt, smoothies, and well-cooked pasta are all great choices [6].
Steer clear of popcorn, nuts, seeds, chips, and sticky candies for at least two weeks post-surgery to avoid trapping particles near the wound. Also, skip hot beverages and avoid using straws, since suction can disturb the blood clot and delay healing [7].
Following these guidelines for post procedure dental care and diet instructions after dental surgery will help you arrive at your removal appointment with a clean, well-healed site.
Managing discomfort and swelling
It’s normal to experience some discomfort and swelling around sutured areas. By addressing these symptoms proactively, you can stay comfortable as your body repairs itself.
Compresses and cold therapy
During the first 18 hours post-surgery, apply an ice pack or frozen vegetables wrapped in a cloth to the outside of your cheek for 25 minutes, then remove for 5 to 10 minutes. Repeat this cycle every one to two hours to minimize swelling and bleeding [8].
After the first 48 hours, switch to warm compresses for 20-minute intervals to encourage blood flow and reduce stiffness around the site [5].
Pain relief medication
Over-the-counter ibuprofen or acetaminophen can manage mild to moderate pain. Always follow the dosing instructions on the label. If you take anticoagulants like warfarin or aspirin, let your provider know at least a week before surgery and before resuming any pain medication, as these drugs can increase bleeding risk [8].
If you need stronger prescription pain relief, your dentist will provide a targeted plan. Don’t hesitate to revisit pain management post extraction or consult your post procedure pain relief dentist for adjustments.
After suture removal care
Once your sutures are out, your healing will accelerate. You should continue gentle rinsing and cautious brushing until your provider clears you for full oral hygiene.
Begin by rinsing gently three to four times daily with warm salt water. You can switch back to your regular toothpaste and brush once you feel no discomfort around the removed stitches. Avoid strenuous exercise for 24 hours, since elevated blood pressure can trigger minor bleeding.
Reintroduce firmer foods gradually. Start with soft sandwiches and well-cooked vegetables before moving to your normal diet. If your removal coincides with recovery from a root canal or other major procedure, follow any additional instructions under after root canal follow up.
Keep an eye on the site for tightness or mild sensitivity. If you’ve had a repaired tooth or graft, schedule any further check-ups as recommended in your follow up on repaired tooth plan. Your ongoing emergency dental healing care routine will ensure long-term health.
When to watch for complications
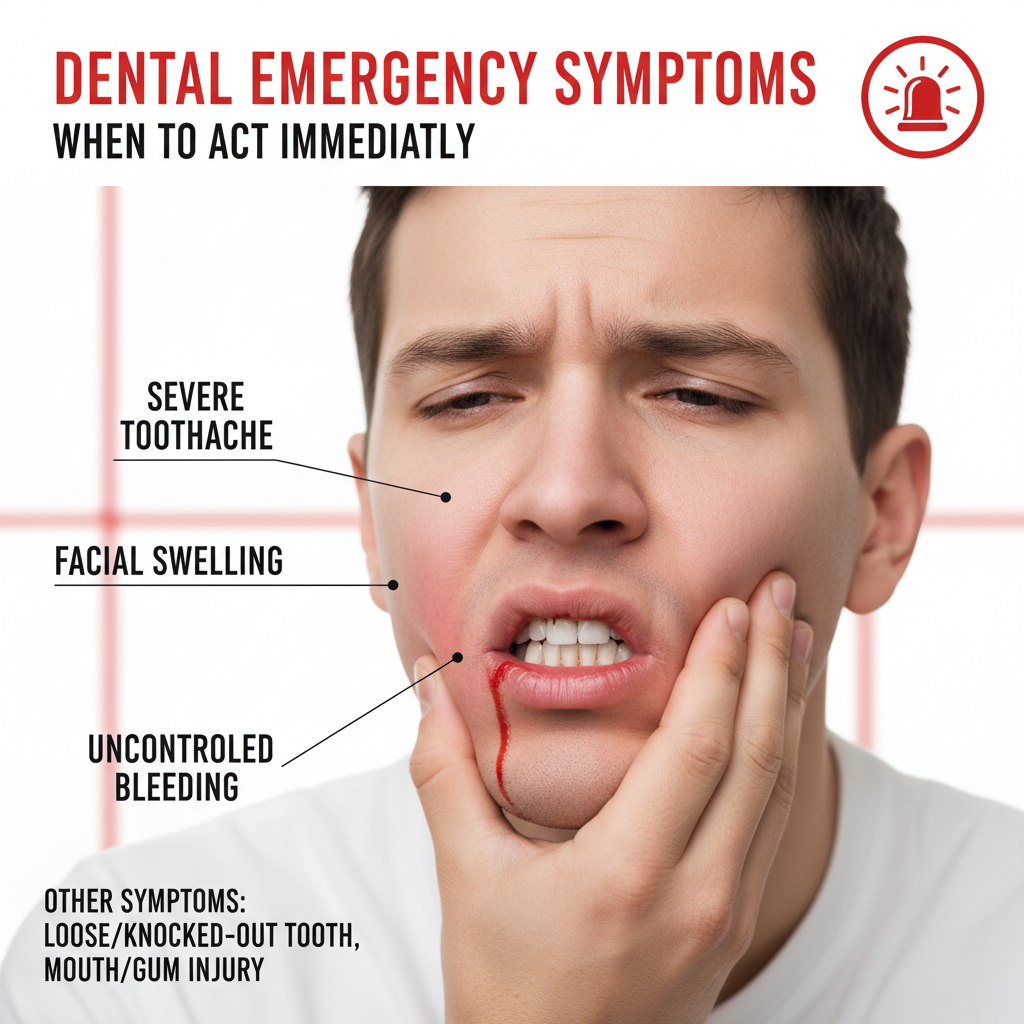
Even with ideal care, complications can occur. Contact your dentist immediately or book a follow up emergency dental visit if you notice any of the following:
- Severe or increasing pain after day three
- Persistent bleeding beyond two hours after removal
- Unusual swelling or redness at the site
- Pus or foul-smelling discharge
- Sutures felt loose or wound edges pulling apart
- Fever, chills, or general malaise
Taking swift action can prevent minor issues from escalating. Always keep your post dental emergency plan document handy and know how to reach your provider or an emergency dental recovery clinic after hours.
Proper suture removal follow-up care bridges the gap between emergency treatment and complete recovery. By understanding why stitches matter, when to remove them, and how to maintain the site before and after removal, you take control of your healing journey. If you ever have doubts, your dental team is ready to guide you every step of the way.