Understand tooth avulsion
When you need to stabilize knocked tooth emergency, it helps to know what you’re facing. Tooth avulsion is the complete displacement of a tooth out of its socket, disrupting the periodontal ligament fibers that anchor it in place. This trauma most often happens to young permanent teeth due to incomplete root development, but it can affect any adult tooth [1].
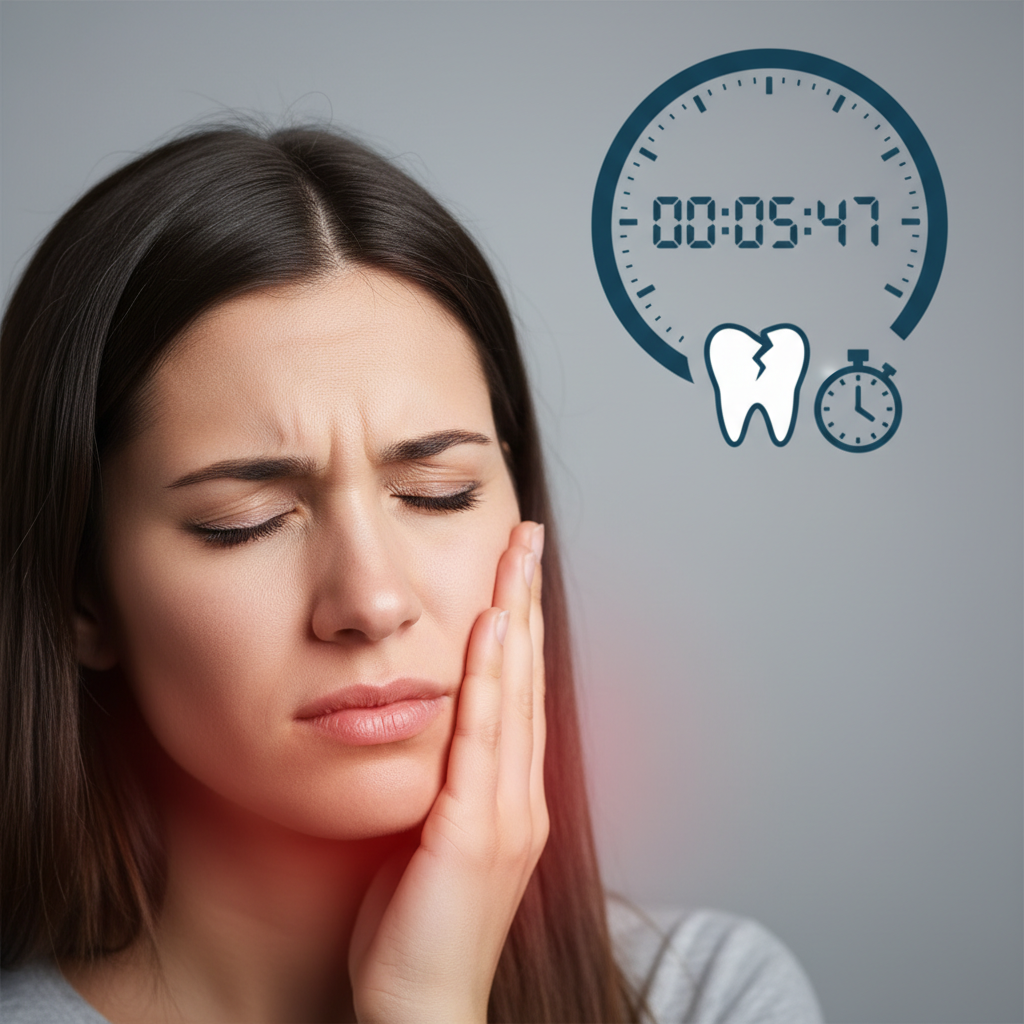
Time is critical. Immediate replantation within 30 minutes to one hour of the injury drastically improves your chances of saving the tooth [2]. After that window, the viability of the root cells declines, making long-term retention less likely. Understanding avulsion and acting fast sets the stage for successful tooth replantation and stabilization.
Perform immediate first aid
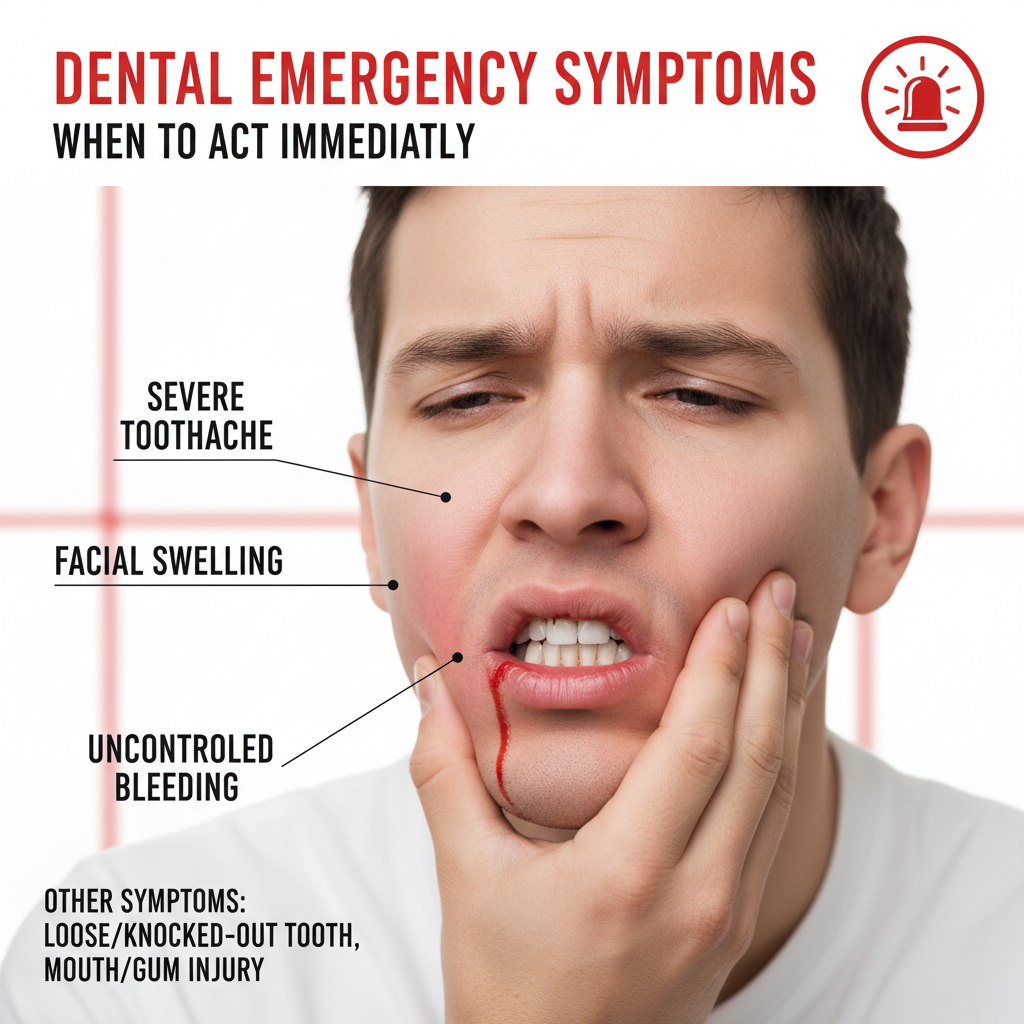
- Stay calm and assess the injury.
- Control bleeding by gently biting on clean gauze or a soft cloth.
- Locate the tooth and pick it up by the crown (chewing surface). Avoid touching the root to preserve root cell viability [3].
- If the tooth is dirty, rinse it gently with water only. Do not scrub, wrap in cloth or use soap or chemicals.
- Attempt immediate reinsertion. Align the tooth with its socket and push it in by the crown. Hold it in place with your finger or by gently biting on gauze.
- If reinsertion isn’t possible, keep the tooth moist and stable—see the next section for storage media options.
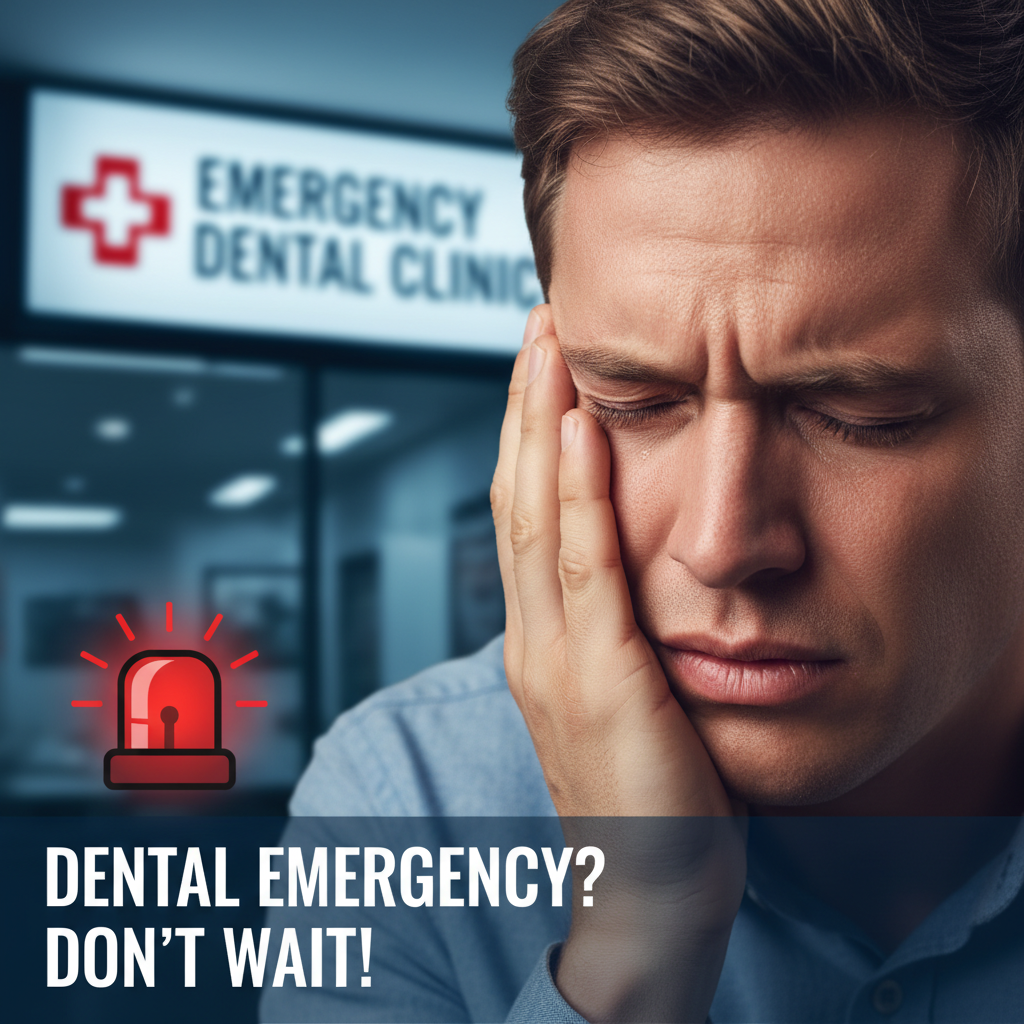
If your tooth is cracked, loosened or partially displaced, you can also contact a loose tooth stabilization dentist or head to an emergency reserve repair clinic for prompt care.
Handle and store properly
When immediate reinsertion isn’t feasible, storing the tooth correctly preserves vital cells on the root surface:
- Milk (best): Provides proteins and antibacterial properties to keep cells alive [2].
- Saliva: Place the tooth between your cheek and gum if you can tolerate it.
- Saline solution: Use if available.
- Emergency tooth preservation kit: Follow manufacturer instructions.
Never store the tooth dry or in plain water. Water can damage root cells and reduce your chances of successful replantation. Avoid wrapping the tooth in tissue, cloth or paper as these materials can dry out the root.
Explore splinting options
Once you reach the dentist, stabilizing the replanted tooth often involves splinting. Splints immobilize the tooth during healing and allow the periodontal ligament to repair.
Splint types
- Semi-rigid splints: Made with composite resin combined with orthodontic wire (0.015–0.03 mm) or nylon monofilament (20–30 lb). These allow slight physiological movement, reducing the risk of ankylosis and external root resorption [1].
- Rigid splints: Less commonly used, as they may increase complications.
Splinting duration
- 7–14 days for avulsion without bone fracture.
- 4–8 weeks if a bone fracture or late replantation occurred.
Your dentist may refer you to a specialist in tooth splinting emergency or to splint broken tooth dentist for expert care.
Arrange dental follow-up care
Proper follow-up is essential to monitor healing and prevent complications.
- Examination and X-ray: Your dentist checks root alignment, bone healing and signs of infection.
- Splint removal: Typically after one to two weeks, unless extended immobilization is required.
- Root canal therapy: Often recommended within 7–10 days for mature teeth to reduce the risk of pulp necrosis.
- Scheduled checkups:
- Monthly visits for the first three months
- Every three months during the first year
- Annual exams up to five years [2]
If stabilization issues arise, you may need referral to a stabilize broken tooth dentist or to emergency dental stabilization.
Consider temporary restorations
While your tooth heals, temporary measures can restore function and appearance.
- Emergency dental bonding: A quick composite resin repair for minor chips or cracks [4].
- Temporary crown repair: A provisional crown protects a compromised tooth until permanent restoration [5].
- Emergency crown replacement: Immediate crown placement when a fractured crown jeopardizes the tooth [6].
- Temporary fix for fractured tooth: Custom acrylic or prefabricated crowns offer short-term coverage [7].
These solutions support eating, speaking and aesthetics, reducing stress on the healing tooth until definitive treatment is completed.
Prevent future dental trauma
Protecting your smile begins before an accident occurs.
- Wear protective gear: Mouthguards for sports, nightguards if you grind your teeth.
- Practice safe habits: Use scissors or tools instead of teeth to cut packaging.
- Maintain oral health: Regular brushing, flossing and dental checkups strengthen enamel and detect early issues.
If a future incident leaves you with a cracked or displaced tooth, timely action and professional care—such as trauma dental repair services or repair tooth after impact—can make all the difference in saving your natural tooth.
By following this essential guide, you’ll know how to act swiftly to stabilize a knocked-out tooth emergency, preserve the root cells, secure the tooth in place and pursue the right dental care. Prompt, informed steps can maximize your chances of successful replantation and long-term oral health.