Understand tooth injuries
When you repair tooth after impact, the first step is knowing what type of damage you’re facing. Dental trauma can range from minor enamel chips to more serious fractures that involve the pulp or root. According to the Cleveland Clinic, a chipped tooth occurs when a fragment of the enamel breaks off due to trauma or biting something hard, and treatment varies based on severity (Cleveland Clinic). Beyond chips, you may encounter:
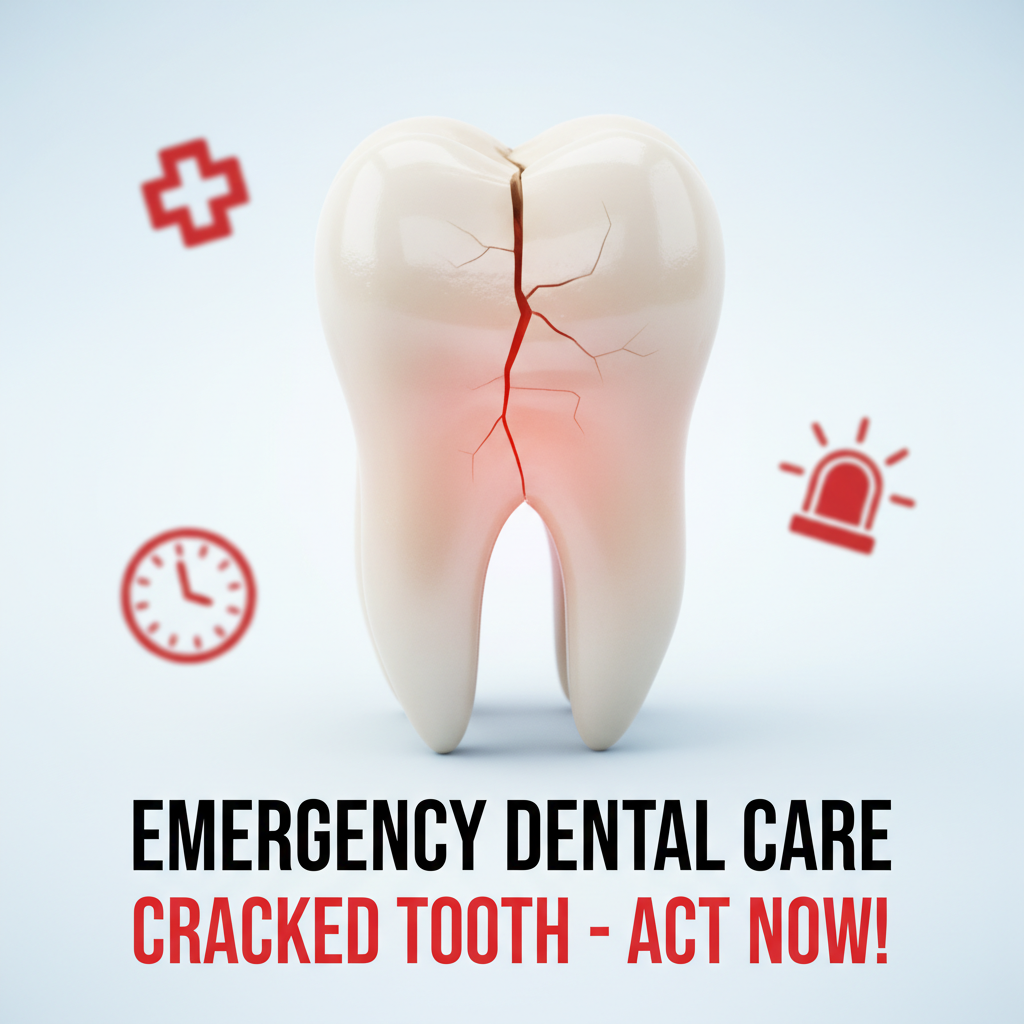
- Cracks, which are partial splits in enamel and dentin
- Fractures, where the break extends into deeper tooth layers
- Luxation, when a tooth is loosened or displaced
- Avulsion, the complete knock-out of a permanent tooth
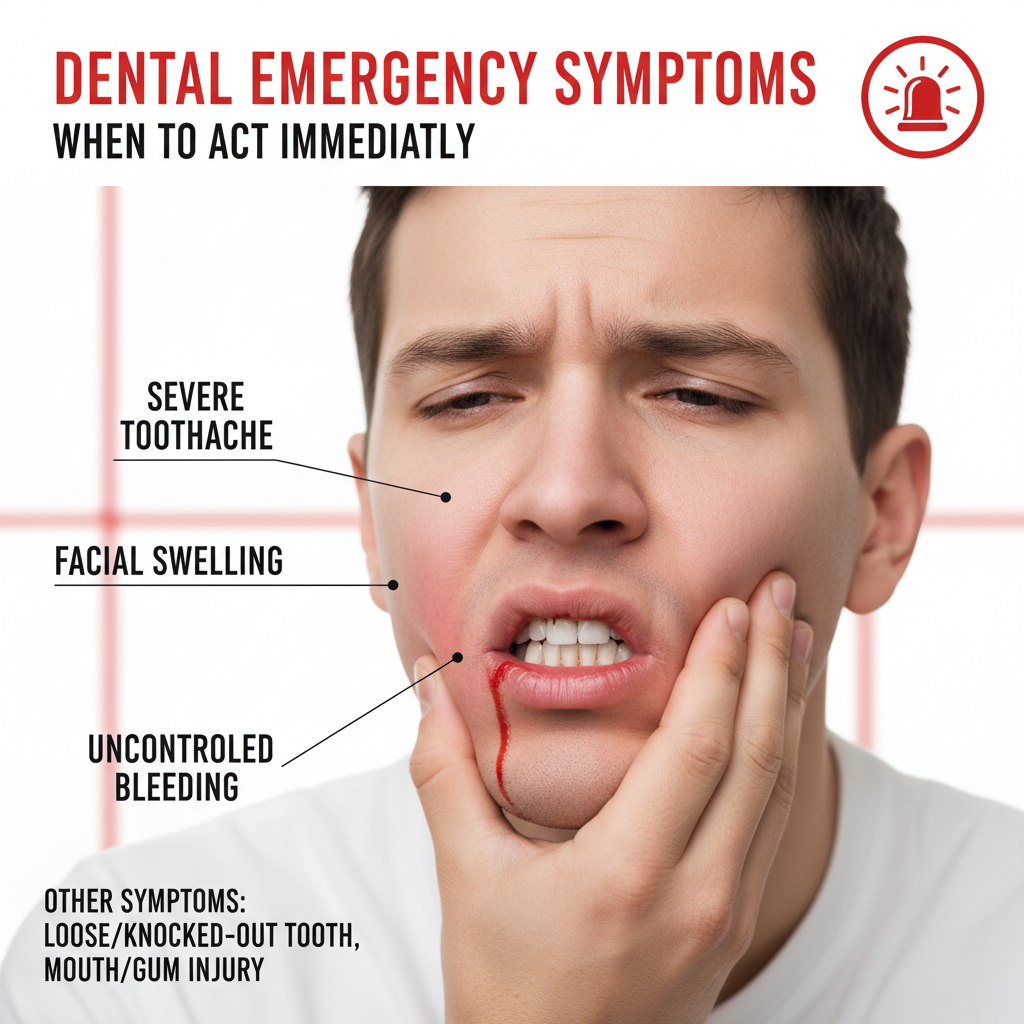
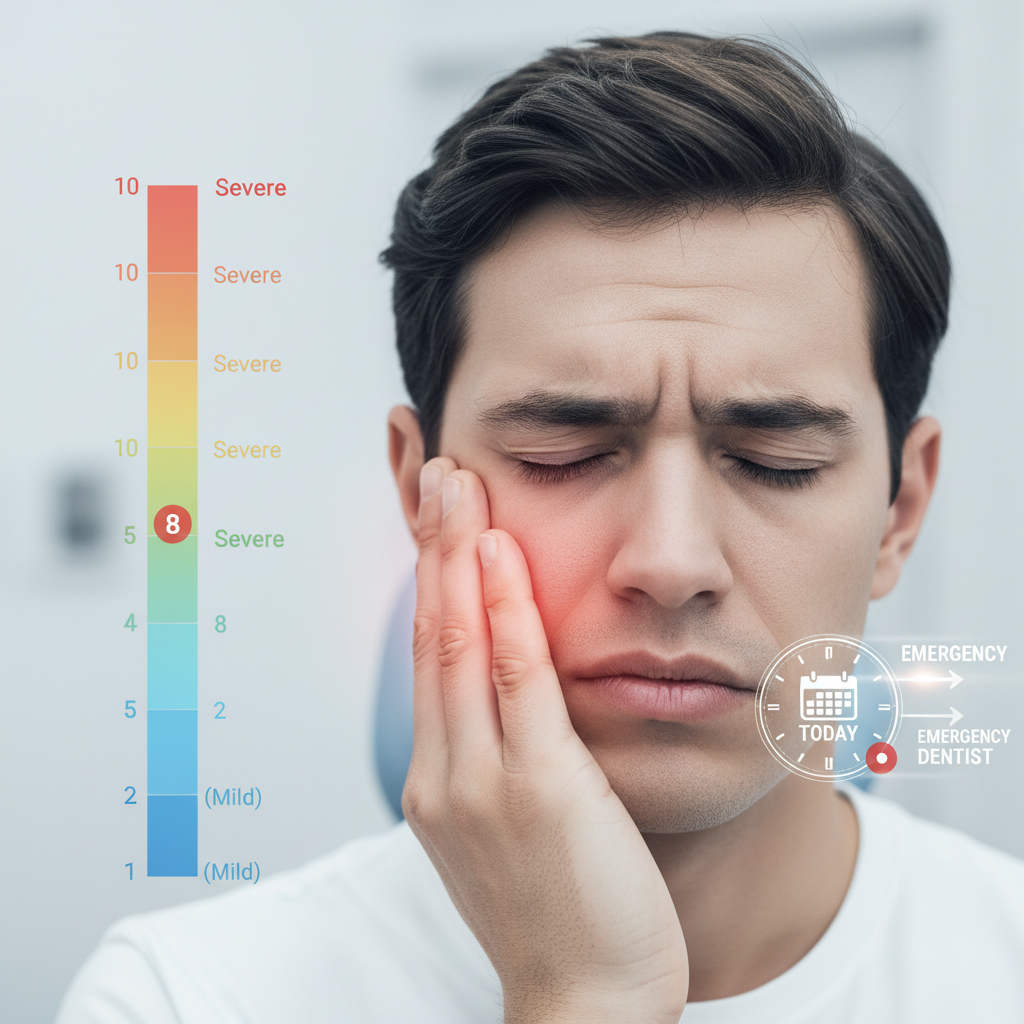
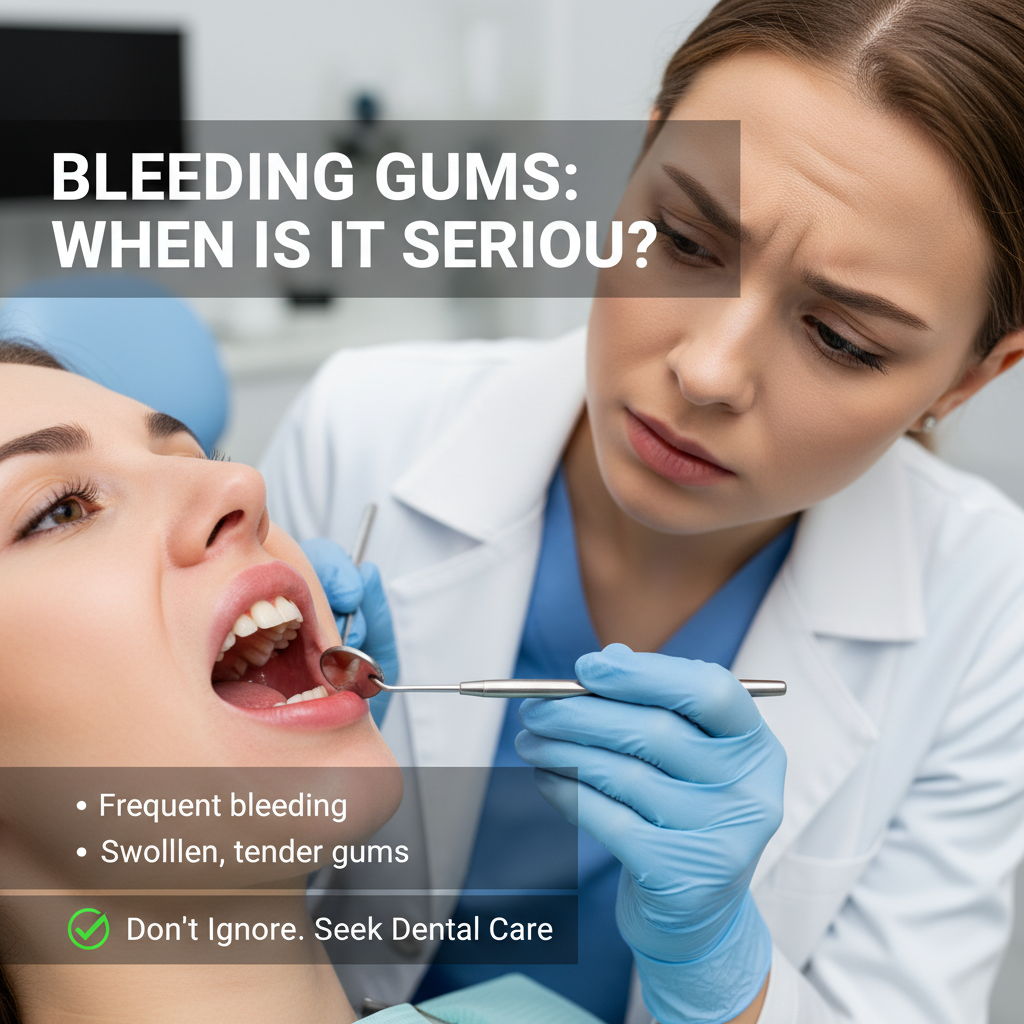
Signs that you need professional repair include sharp or lingering pain, bleeding, visible tooth fragments, or changes in tooth position. If you see exposed yellow or pink tissue beneath enamel, the damage likely reaches the dentin or pulp, requiring immediate care to prevent infection. For urgent cases involving cracked teeth, consider contacting a specialist via cracked tooth repair emergency.
Recognizing the severity early boosts your chance for full recovery. Enamel-only chips might be smoothed out over time, but deeper injuries need prompt evaluation. Always inspect your tooth gently, avoiding pressure that could worsen the damage.
Assess damage safely
Before you attempt any fixes, perform a quick self-evaluation to gauge the extent of the injury:
- Rinse your mouth with warm water to clear debris.
- Gently blow on the tooth to detect pain or nerve sensitivity.
- Check for looseness by applying slight pressure with a clean finger—if it moves, it’s luxated.
- Look for fragments; save any pieces in a clean container with milk or saliva.
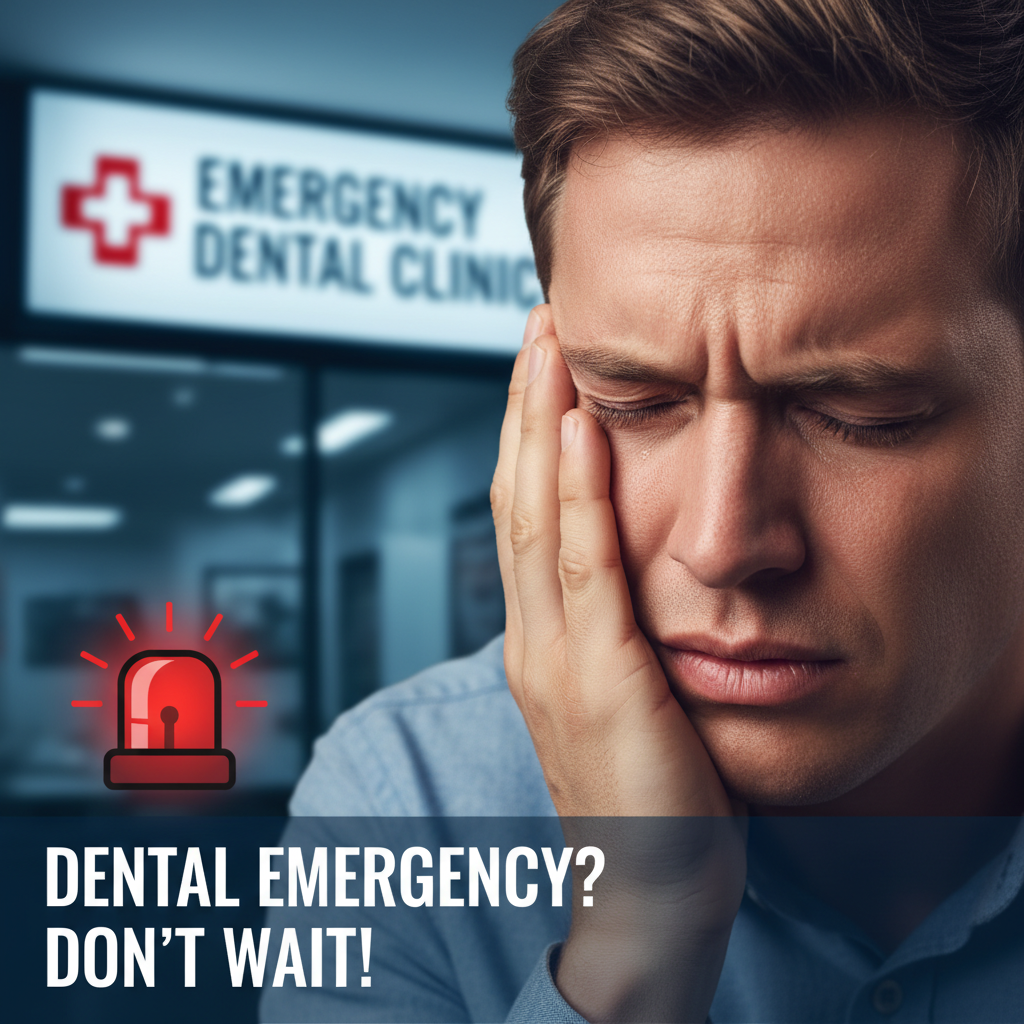
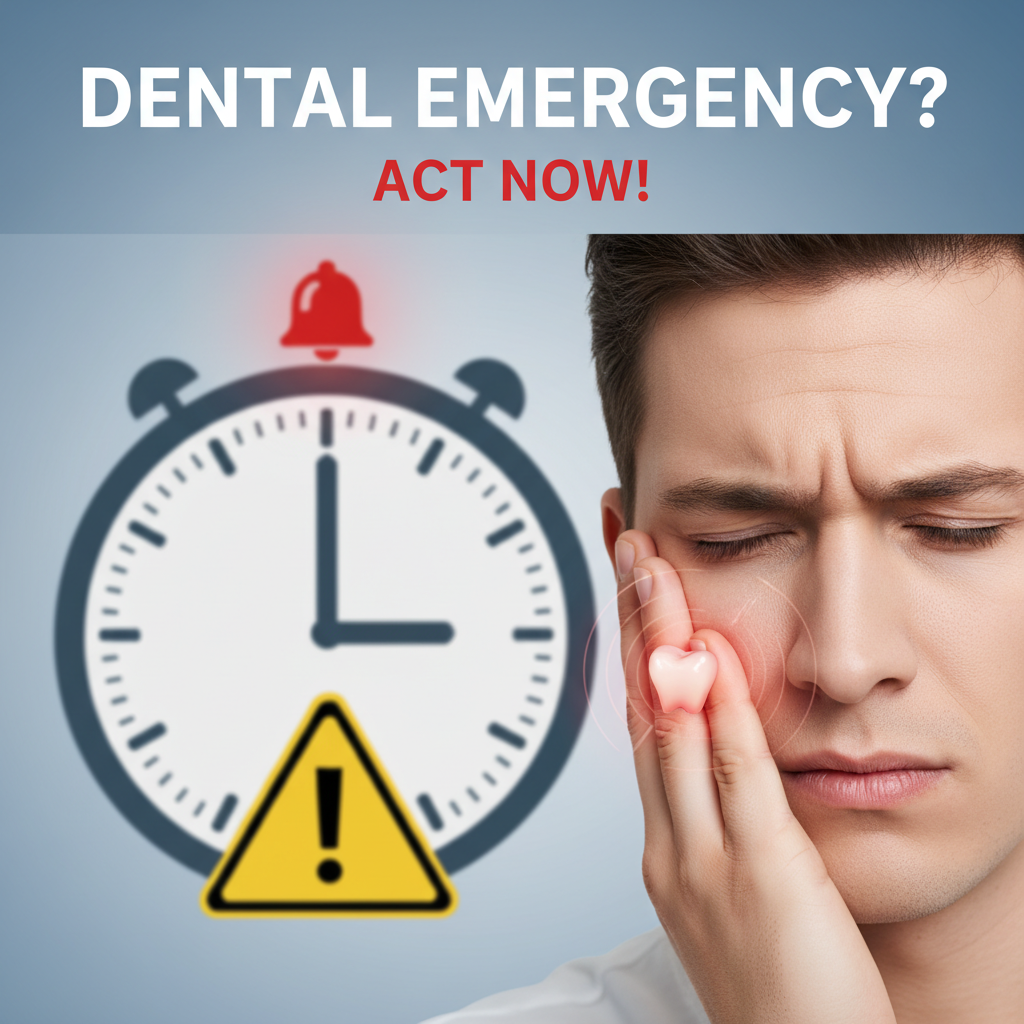
If you notice severe pain, uncontrolled bleeding, or a tooth that has shifted, call your dentist or an emergency dental stabilization provider right away. For knocked-out teeth, time is critical—reimplantation within 30 minutes substantially improves success rates [1]. If you’re local to Charlotte, you can schedule a fast evaluation at repair fractured tooth charlotte.
When in doubt, err on the side of caution and seek professional help. Delaying care can lead to infection, pulp damage, or loss of the tooth.
Stabilize the tooth
Once you know the severity, use these measures to stabilize your tooth until you see a professional:
Home stabilization steps
- Apply gentle pressure with clean gauze to stop bleeding.
- If a tooth is knocked out, hold it by the crown and rinse briefly under water—avoid touching the root. Try to reinsert it into the socket; if that’s not possible, store it in milk or saliva.
- Use a cold compress on the cheek for 10 minutes every hour to reduce swelling [2].
- Avoid chewing on the injured side and stick to soft foods until treated.
These steps provide immediate relief but don’t replace professional stabilization.
Professional splinting
Dentists often use splints to secure a loose or displaced tooth. Splinting involves bonding the injured tooth to adjacent teeth with a flexible wire or composite resin. If you need this service urgently, look for a splint broken tooth dentist or contact a tooth splinting emergency clinic. Professionals may stabilize both permanent and deciduous teeth using custom splints, promoting ligament reattachment and minimizing long-term mobility [3].
If you have a partially displaced tooth, an experienced loose tooth stabilization dentist can evaluate and secure it to prevent further trauma.
Restore tooth structure
After stabilization, the focus shifts to restoring form and function. Treatment depends on the damage depth and your aesthetic goals.
Dental bonding options
For minor chips or cracks, dental bonding is a quick, minimally invasive choice. A tooth-colored composite resin is applied to rebuild the damaged area, then shaped and polished to match your natural tooth. Bonding typically requires no anesthesia and can be completed in one visit. If you require same-day assistance, search for emergency dental bonding.
Advantages of bonding
- Cost-effective for small defects
- Natural-looking results
- Preserves tooth structure
Crowns and veneers
When damage extends beyond enamel into dentin or pulp, a crown may be necessary. Crowns are custom-made caps that encase the tooth, providing protection and strength. You might need a temporary solution while waiting for your permanent crown—see temporary crown repair or emergency crown replacement.
Table: bonding vs crown
| Feature | Dental bonding | Dental crown |
|---|---|---|
| Ideal damage level | Minor chips or cracks | Extensive fractures or decay |
| Procedure time | 30–60 minutes | Two visits (prep and placement) |
| Durability | 3–10 years | 10–15 years |
| Cost | Lower | Higher |
| Tooth preparation needed | Minimal | Moderate (enamel reduction) |
When pulp exposure occurs, your dentist will recommend root canal therapy followed by a crown to seal and protect the tooth [4].
Manage pain and swelling
Effective pain control helps you stay comfortable while awaiting definitive care.
Home remedies
- Cold compress: Apply to the cheek for 10 minutes each hour to reduce inflammation [2].
- Clove oil: Soak a cotton swab with clove oil and dab it on the sore area to harness its natural analgesic properties.
- Saltwater rinse: Dissolve a teaspoon of salt in warm water and rinse your mouth to soothe tissues.
- Tea bag compress: After steeping, let a black or peppermint tea bag cool and press against the injury for 15–20 minutes to take advantage of tannins and menthol.
Over-the-counter aids
Nonsteroidal anti-inflammatory drugs (NSAIDs) like ibuprofen can reduce pain and swelling. Follow dosing instructions, and avoid placing aspirin directly on gums as it may cause tissue irritation. If swelling persists or you develop a fever, seek immediate care.
Prevent future complications
After initial repair, you’ll want to protect your restored tooth and overall oral health.
Follow-up care steps
- Attend scheduled check-ups every 4–6 weeks until your dentist clears you.
- If you notice persistent mobility or pain, contact your provider for a reassessment.
- For guard fabrication after bruxism or sports, ask about a custom nightguard or mouthguard.
Hygiene and protection
- Brush twice daily with a soft bristle brush and fluoride toothpaste.
- Floss gently around the restored tooth to avoid dislodging bonding or irritate gums.
- Avoid hard or sticky foods on the injured side until fully healed.
- Wear protective gear during sports and consider a nightguard if you grind teeth.
If you experience new looseness in a repaired restoration, you may need repair loose dental work or a temporary fix for fractured tooth.
Prepare for treatment
Knowing what to expect reduces anxiety and streamlines your repair journey.
Choosing a provider
Look for a dentist or endodontist with experience in trauma care. Confirm they offer emergency slots and services such as:
- Splinting and stabilization [5]
- Root canal therapy and crowns
- Cosmetic bonding and veneer placement
- Full trauma restoration [6]
If you need an urgent clinic with reserve capacity, find an emergency reserve repair clinic.
What to expect at clinic
- Clinical exam and dental X-rays to assess injury depth.
- Discussion of treatment options, risks, benefits, and costs.
- Local anesthesia or sedation for comfort.
- Stabilization or splinting procedure if needed.
- Restoration with bonding, crown prep, or veneer placement.
Bring any fragments you saved and a list of medications. Understanding the process helps you participate in decision-making.
Understand long-term outlook
Knowing your recovery path helps set realistic expectations for healing and maintenance.
Recovery timeline
- Immediate: Stabilization and pain management
- 1–2 weeks: Soft tissue healing and removal of temporary splints
- 4–6 weeks: Check-ups to monitor ligament reattachment and pulp vitality
- 2–3 months: Final restoration placement if a temporary crown was used
- Ongoing: Annual exams and cleanings
If you undergo root canal therapy, complete the crown placement within 3 months to prevent fracture. abbyabs30 porn
Maintenance strategies
- Maintain excellent oral hygiene to prevent decay around restorations.
- Wear protective appliances for sports or night grinding.
- Avoid using teeth as tools or biting hard objects.
- Report any new symptoms—pain, sensitivity, or mobility—to your dentist promptly.
For comprehensive emergency tooth repair and ongoing care, consult a specialist in emergency tooth restoration. By following each step—from initial assessment and stabilization to definitive restoration and maintenance—you maximize the chance of preserving your natural tooth and enjoying long-term oral health.