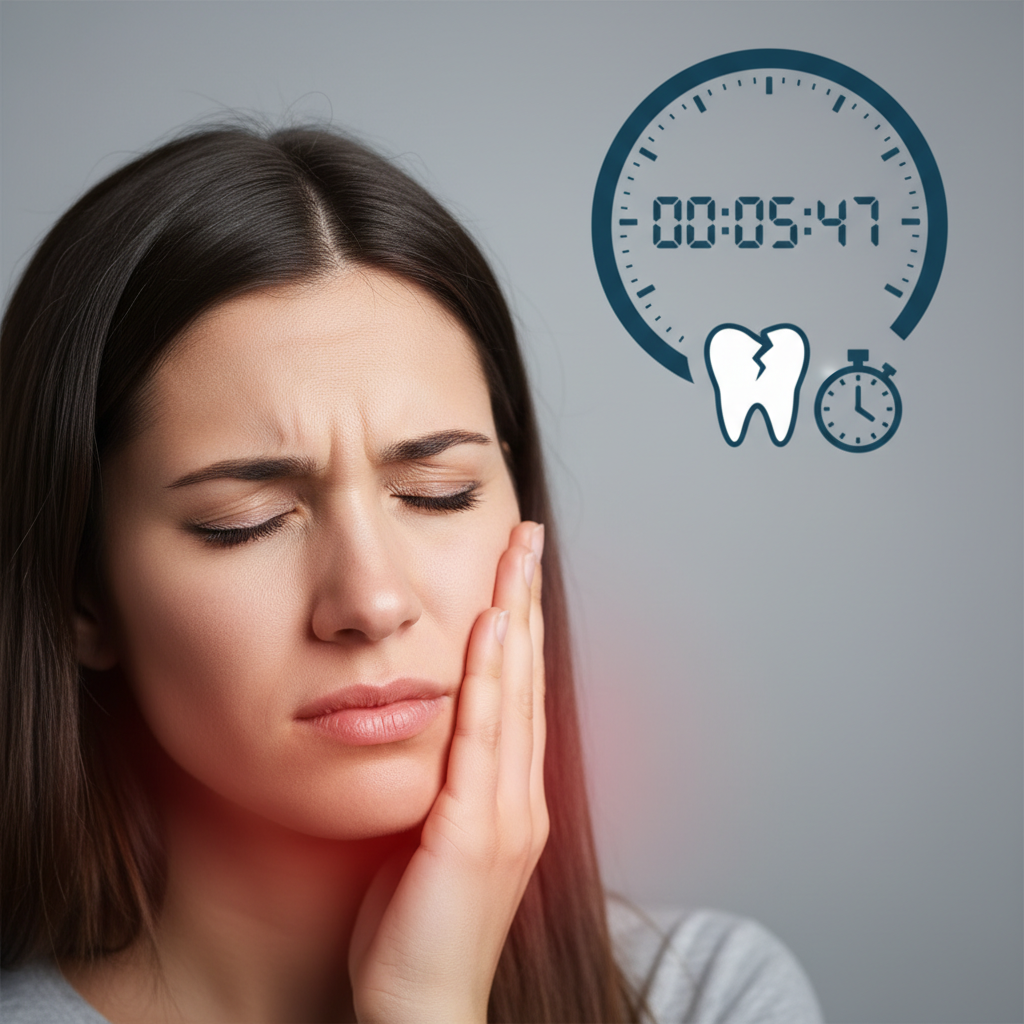
Post emergency dental cleanup is the care you perform after urgent dental treatment to protect your smile and speed up recovery. Whether you received a temporary filling, had a tooth extracted, or underwent emergency root canal therapy, your actions in the hours and days that follow can make all the difference. Skipping key steps or rushing through your aftercare may cause infection, complications or the need for more invasive treatment later.
In this guide you’ll learn the most common mistakes patients make during post emergency dental cleanup and exactly how to avoid them. We’ll cover everything from gentle rinsing and bleeding control to pain management, diet choices and scheduling follow-up visits. Armed with the right strategies and an understanding of why each step matters, you’ll protect your oral health and support a smooth healing process.
Understand post emergency dental cleanup
What to expect
Immediately after emergency dental treatment your dentist may apply gauze, place a temporary filling or stitch soft tissues. You might feel numbness in the treated area for a few hours and notice slight bleeding or oozing. These are normal reactions as your mouth adjusts to intervention. During this period your focus is on keeping the area clean, controlling bleeding and avoiding anything that might disturb a forming blood clot.
Your dentist will give you specific instructions for your procedure, whether it was an extraction, crown placement or repair of a fractured tooth. These directions form the foundation of your post-emergency care plan, so read them carefully. If anything is unclear, take notes and ask questions before leaving the office. Clear expectations help prevent missteps and keep your recovery on track.
Why cleanup matters
Proper cleanup after dental trauma or emergency care reduces the risk of infection and supports tissue regeneration. When debris or bacteria linger in a wound, even a small smudge of food can become a breeding ground for harmful germs. By following best practices—like gentle rinsing and timely follow-up visits—you minimize swelling, prevent abscesses and protect adjacent teeth.
Failing to clean your mouth correctly can compromise temporary restorations and delay permanent repairs. A dislodged filling or untreated infection may require additional appointments, extra costs and extended discomfort. Investing a little time in meticulous post emergency dental cleanup pays off with faster healing and fewer surprises down the road.
Avoid improper rinsing
Rinsing too aggressively
One of the first mistakes people make is rinsing too forcefully in an effort to “scrub away” blood or debris. Vigorous swishing can dislodge critical blood clots that form over extraction sites and lacerations. Without that clot acting as a natural bandage you risk a painful dry socket or reopening a healing tissue.
Instead of high-pressure mouthwashes or rapid swishing, use gentle circular motions. After 24 hours you can rinse with warm salt water, letting it flow over the area rather than blasting it in. For detailed guidance on cleaning techniques without harming sutures or blood clots, see our tips on post procedure dental care.
Mistaken use of products
Over-the-counter mouthwashes that contain alcohol or harsh chemicals can irritate sensitive tissues and slow healing. Hydrogen peroxide rinses, though antiseptic, may also interfere with clot formation and should be avoided unless your dentist prescribes them. Some patients switch to intense whitening rinses for freshness, not realizing these formulas are too abrasive for an injury site.
Stick to plain warm water or a mild saltwater solution unless otherwise directed. If you need an antimicrobial boost ask your dentist about prescription rinses that balance germ control with tissue safety. Using the wrong products—even with good intentions—can lengthen your recovery and increase soreness.
Prevent infection risk
Controlling bleeding
In the first hours after an emergency procedure, applying firm but gentle pressure with a clean gauze pad is critical. Bite down steadily for 20 to 30 minutes, then replace the pad if bleeding continues. If blood soaks through, fold a fresh piece of gauze and repeat. You can also wrap an ice pack in a thin cloth and hold it against your cheek for 10-minute intervals to reduce swelling and constrict blood vessels.
These steps help slow bleeding and stabilize the area before you rinse or eat. According to emergency dental first aid guidance, applying gentle pressure with clean gauze or a damp cloth and using cold compresses can control bleeding and swelling until you see your dentist [1].
Administering antibiotics
When your dentist prescribes antibiotics to prevent or treat infection, take the full course exactly as directed. Skipping doses or stopping early because you “feel better” can allow bacteria to rebound and form an abscess. If you notice side effects—such as stomach upset or rash—contact your dentist or physician before discontinuing.
Antibiotics work best when taken at consistent intervals. Set reminders on your phone if needed and finish the prescription even if discomfort subsides. Proper antibiotic use is a cornerstone of infection control in post emergency dental cleanup, preserving both the treatment site and your overall health.
Manage pain effectively
Following medication instructions
Your dentist may recommend or prescribe over-the-counter pain relievers like ibuprofen or acetaminophen, or stronger medications if needed. Take these exactly as instructed, paying attention to maximum daily doses. Avoid combining two products that contain the same active ingredient, for example acetaminophen in a headache formula plus acetaminophen in a cold medicine.
If you have pre-existing conditions or are on other prescriptions, clear any new medication plans with your provider. For specialized advice on balancing pain relief with dental healing, see our post procedure pain relief dentist resource.
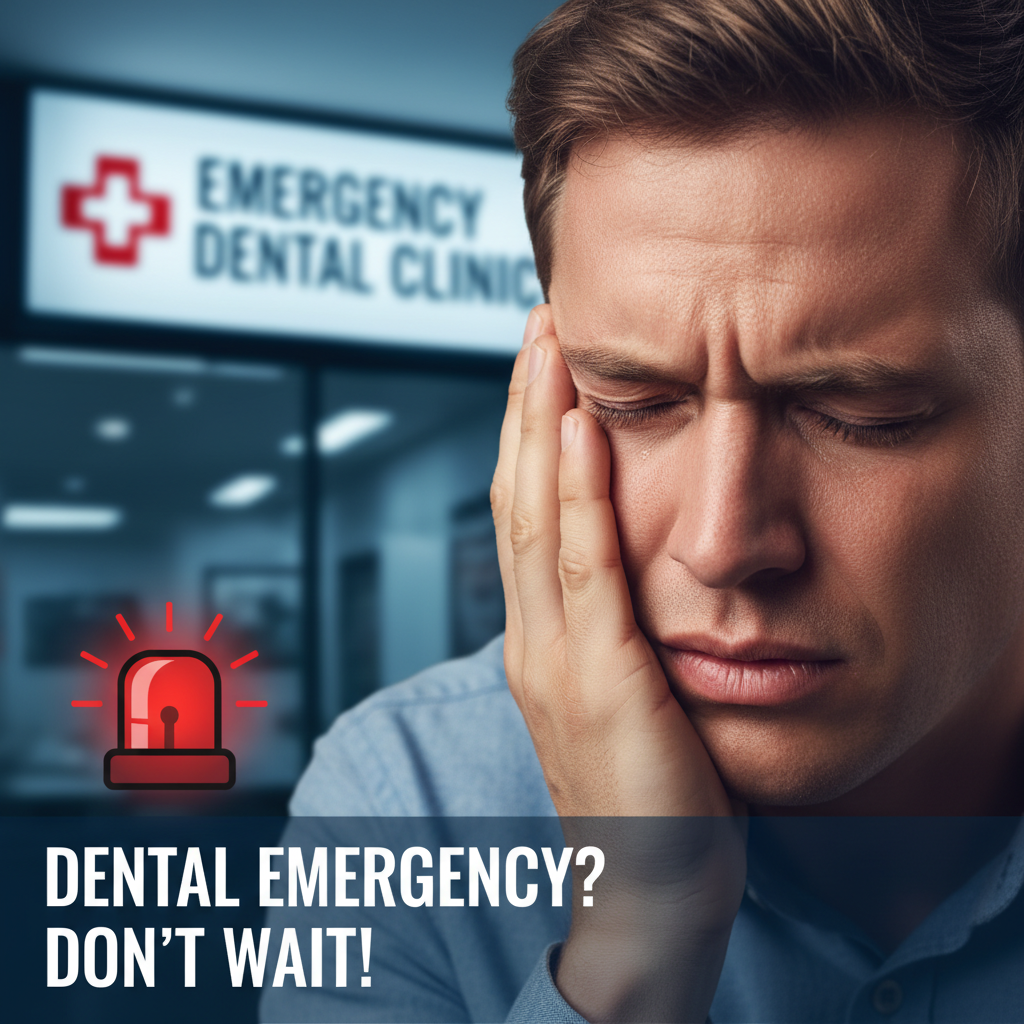
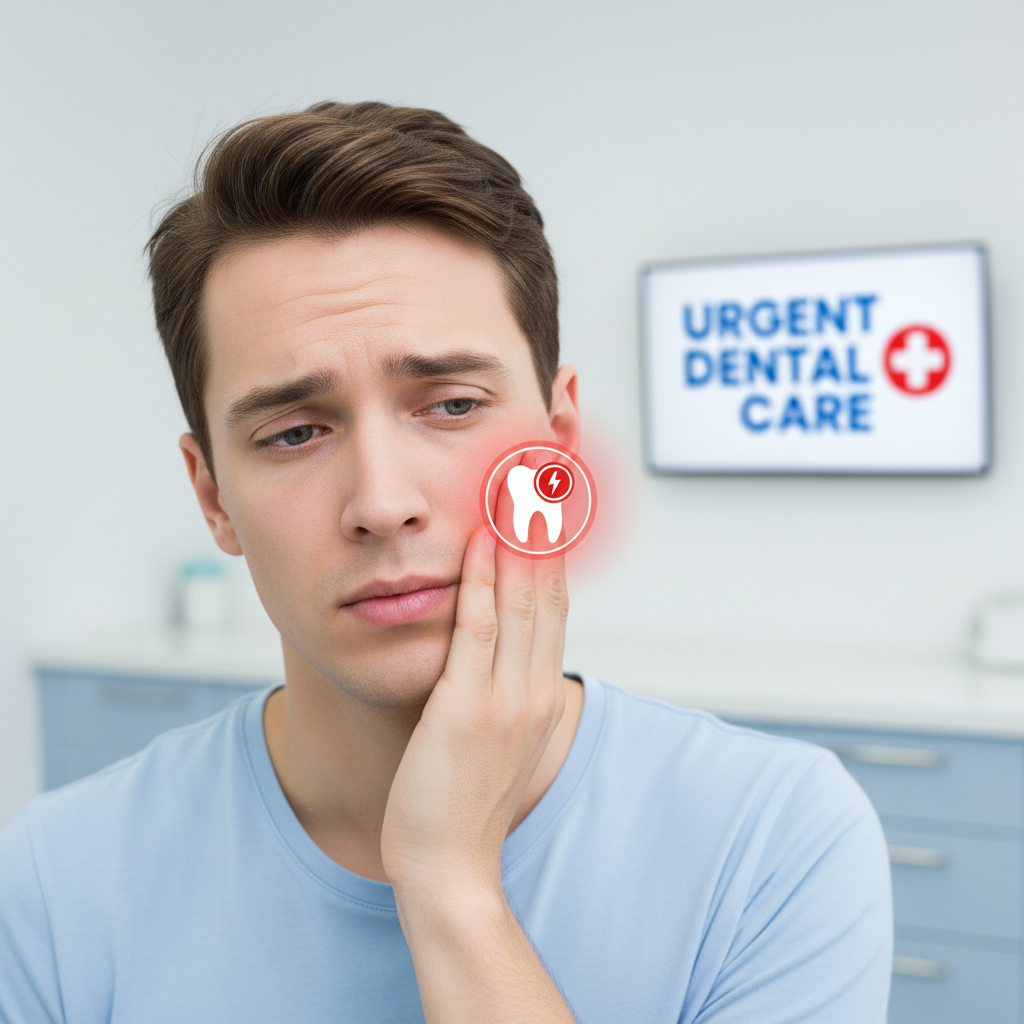
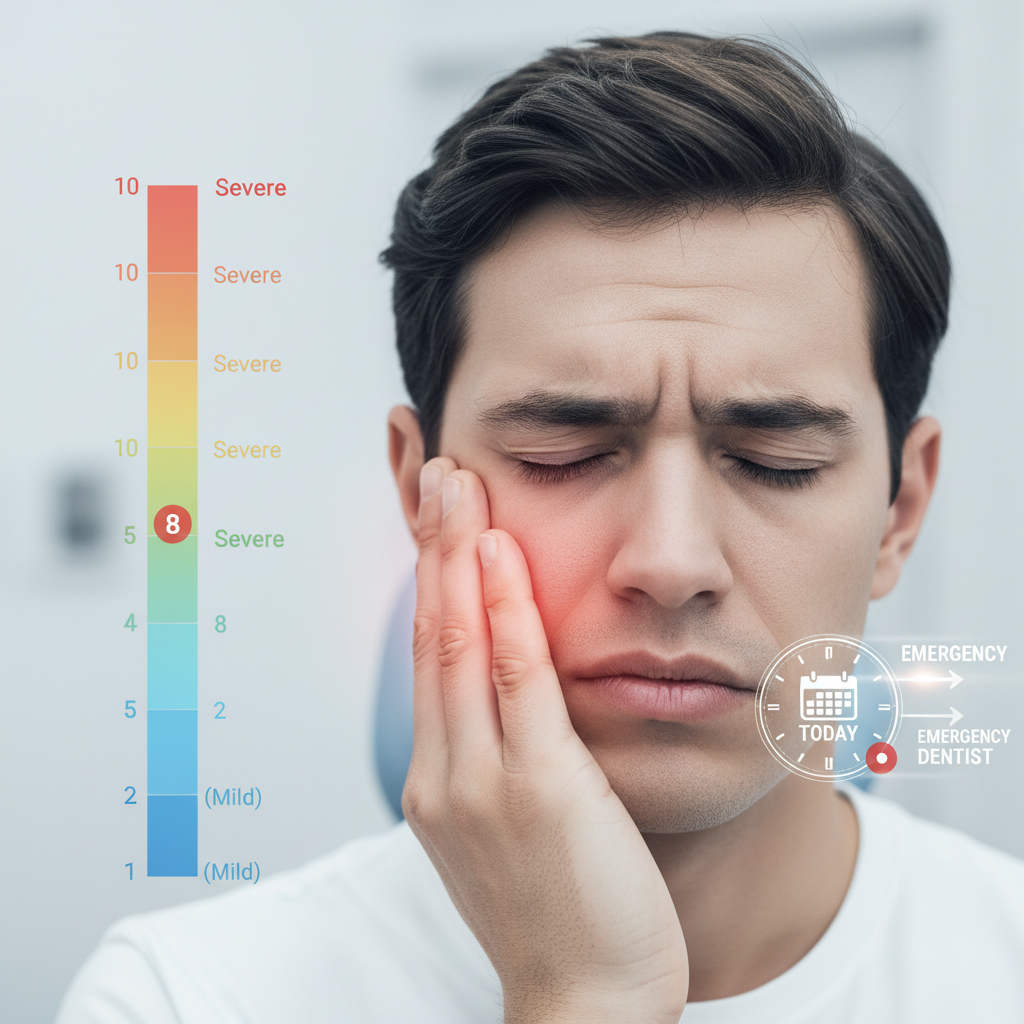
When to seek help
Mild to moderate pain is normal after emergency dental care, but certain warning signs mean you should reach out immediately. If you experience severe, throbbing pain that intensifies despite medication, or notice a fever, persistent bad taste, or swelling that worsens after 48 hours, contact your dental office. You may need a follow-up exam or adjustment to your treatment plan.
Don’t wait for your next scheduled visit if symptoms escalate. A quick call can avert complications and get you back on the road to comfortable healing. For guidance on emergency follow-up protocols, refer to our emergency dental aftercare instructions.
Follow dietary guidelines
Soft food recommendations
What you eat in the first few days can either protect your surgical site or set it back. Stick to soft, easy-to-chew options that don’t require biting near the treated area. Yogurt, smoothies, mashed potatoes, oatmeal and scrambled eggs are all excellent choices. These foods provide nutrients without placing stress on healing tissues.
Drink plenty of fluids, but avoid using straws. The suction action can dislodge blood clots and undermine your cleanup efforts. If you need flavor variety, blend soft fruits or mild soups into drinkable consistency.
Foods to avoid
Crunchy, hard or spicy foods can irritate sutures, scratch exposed bone or inflame sensitive gum tissue. Steer clear of nuts, chips, popcorn, raw vegetables and spicy sauces until your dentist gives the all-clear. Hot beverages like coffee or soup can also increase swelling when consumed too early.
| Soft foods recommended | Foods to avoid |
|---|---|
| Yogurt | Chips |
| Mashed potatoes | Nuts |
| Smoothies | Popcorn |
| Scrambled eggs | Spicy dishes |
| Oatmeal | Hard candies |
For a full overview of what to eat and when, check our diet instructions after dental surgery.
Schedule follow-up visits
Timing your appointments
Your first follow-up appointment typically falls within 24 to 72 hours after an emergency procedure. This visit lets your dentist check bleeding, remove or adjust temporary restorations and evaluate how well you’re following cleanup steps. If you had stitches placed, you may have a separate appointment for suture removal in about a week. Mark your calendar and keep these slots open to avoid delays in care.
Failing to attend follow-up visits can result in unnoticed infection or complications. To plan ahead, find a trusted provider in your area—having contact info for an emergency dental recovery clinic saved on your phone can reduce stress if another urgent need arises.
What to ask your dentist
Use follow-up visits to clarify next steps: when to switch from a temporary filling to a permanent crown, signs that warrant an unscheduled check or instructions on home care. Ask about modifications to your oral hygiene routine, such as when it’s safe to resume flossing around the treated site. If you experienced trauma, inquire about long-term follow-up on issues like root resorption or fracture monitoring as part of your post dental emergency plan.
A well-informed patient is better equipped to support their own healing.
Maintain oral hygiene
Gentle brushing techniques
Keeping your mouth clean reduces bacterial buildup and supports healthy gum healing. Use a soft-bristled toothbrush and avoid brushing directly over stitches or extraction sockets for the first 24 hours. After that, clean other areas gently, angling the brush away from the surgical site. Gradually reintroduce normal brushing pressure as sensitivity decreases.
Patients recovering from surgery are often advised to delay brushing near surgical sites until their follow-up visit [2]. Continuing to maintain overall oral hygiene prevents plaque accumulation and protects against new decay.
Saltwater rinses
Warm saltwater rinses are one of the simplest yet most effective tools for your post emergency dental cleanup routine. Dissolve one teaspoon of salt in an 8-ounce glass of warm water and gently swish it around your mouth for 30 seconds, then let it drain. Repeat this process four times a day—especially after meals—to soothe tissues, reduce swelling and discourage bacterial growth.
For more on rinsing protocols and timing, explore our emergency dental healing care guide.
Monitor healing process
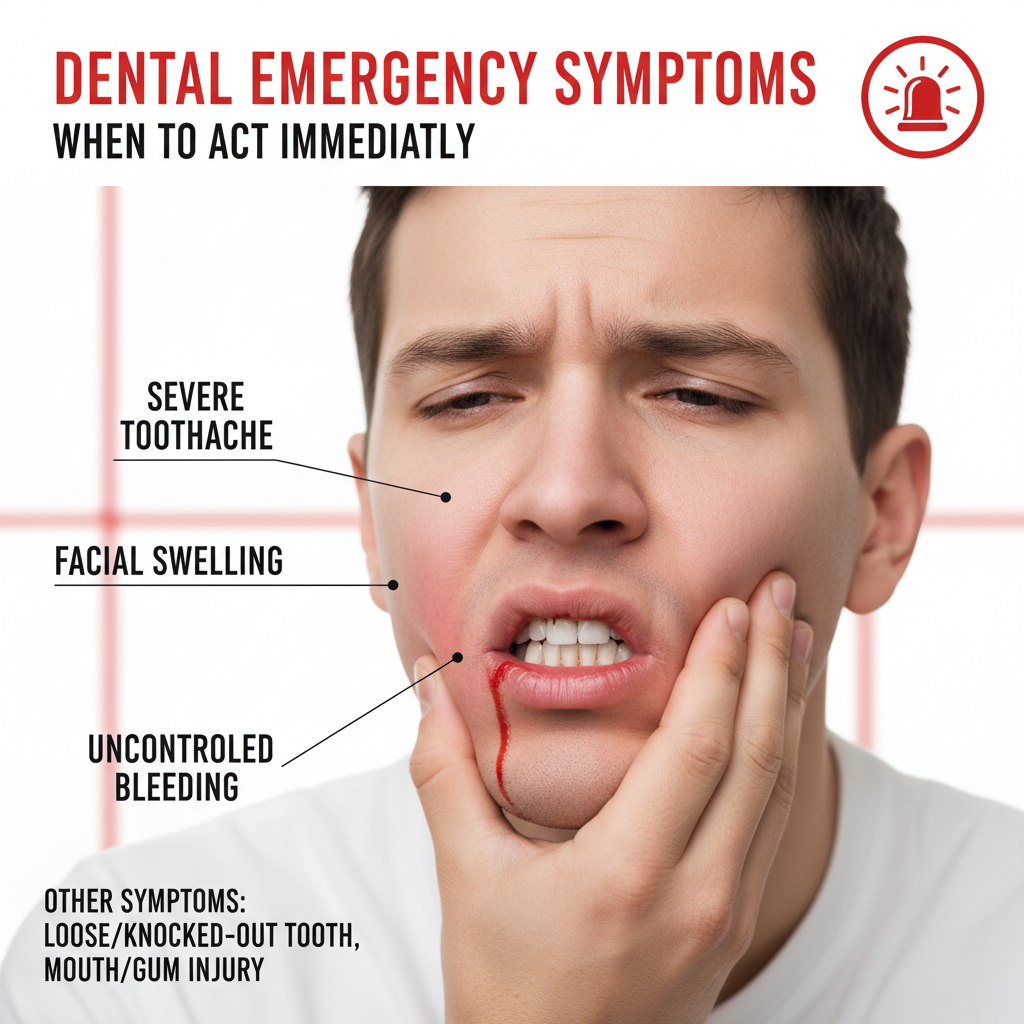
Signs of complications
Even when you follow all the right steps, it’s important to keep an eye on how your mouth feels and appears. Increasing pain that outpaces your medication plan, excessive or persistent bleeding, pus from a wound or a foul odor are red flags. Swelling that worsens after the initial 48 hours or the emergence of fever can signal infection.
Recognizing these warning signs early lets you address issues before they escalate.
When to call for help
If you notice any troubling symptoms—severe throbbing pain, uncontrolled bleeding, difficulty breathing or swallowing—contact your dentist or seek emergency medical care right away. Delaying can allow an infection to spread or a complication like a dry socket to worsen. Keep your dentist’s after-hours number handy and don’t hesitate to reach out.
For comprehensive recovery tips, see our healing process emergency dental page.
By understanding each phase of your post emergency dental cleanup and steering clear of these common mistakes, you’ll protect your oral health and support a faster, more comfortable recovery. Consistency in aftercare, timely follow-ups and open communication with your dental team are the best defenses against complications. Stay informed, follow your personalized care plan and you’ll be back to smiling with confidence in no time.