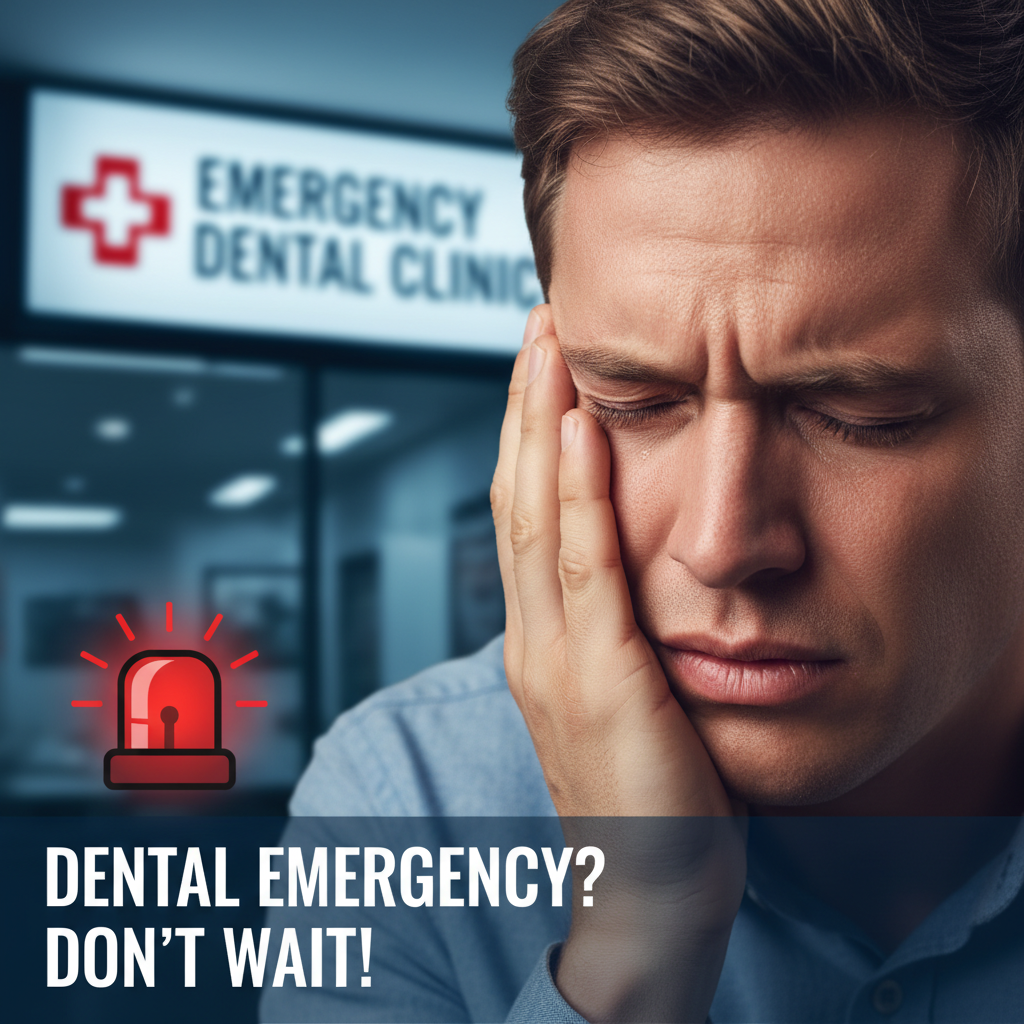
Prepare for your visit
Your follow-up emergency dental visit starts long before you walk through the door. First, gather any paperwork you received during your initial emergency treatment, including X-rays, prescriptions, and referral notes. Having these documents on hand helps your dentist review your case history quickly and accurately.
Next, jot down any changes in your symptoms since the first appointment. Did the swelling go down? Has the pain shifted? Noting these details ensures you and your dentist address emerging issues, whether it’s lingering discomfort or new tenderness.
Finally, plan your transportation and schedule. After certain procedures—like extractions or sedation—you may feel groggy or weak. Arrange for a ride home to keep yourself safe and avoid added stress on your recovery.
Know what to expect
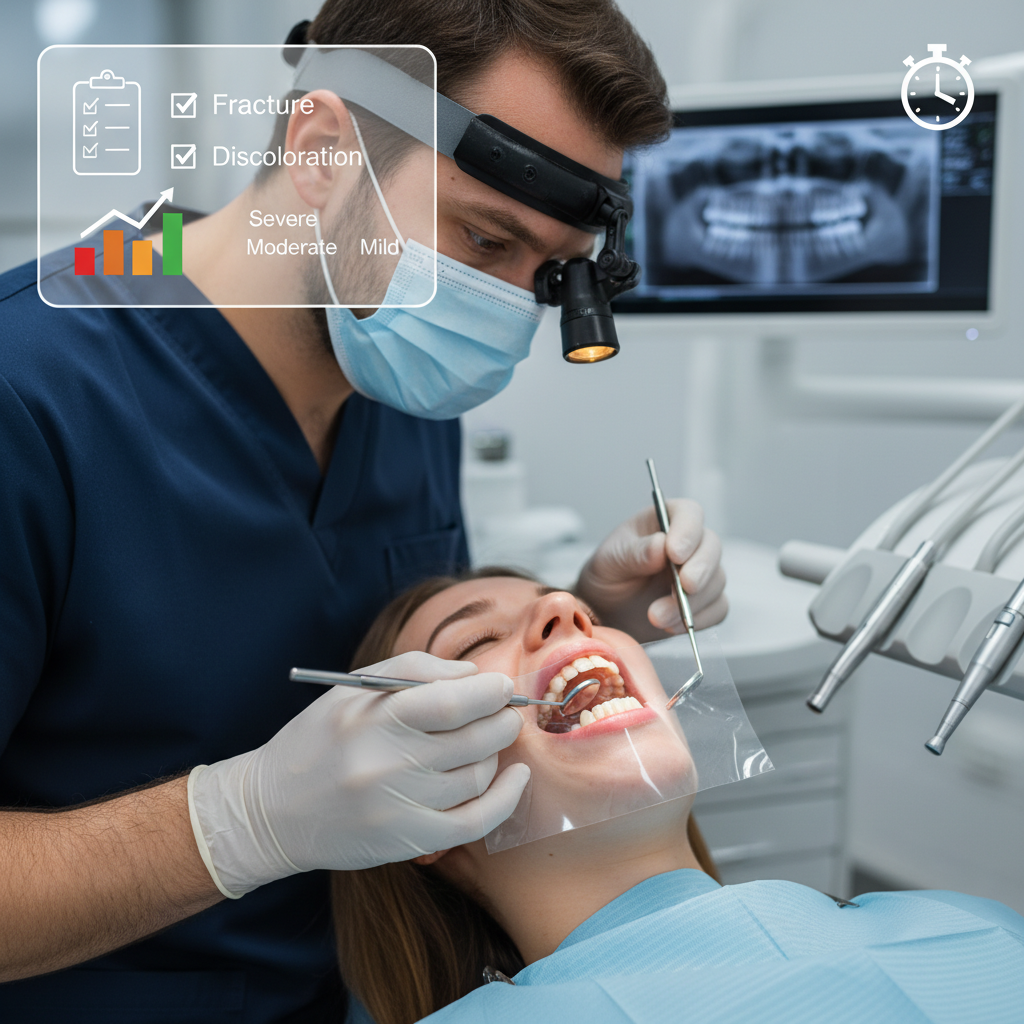
Follow-up visits can vary widely depending on the procedure you initially received. Understanding the most common steps reduces anxiety and keeps you informed.
Common follow-up procedures
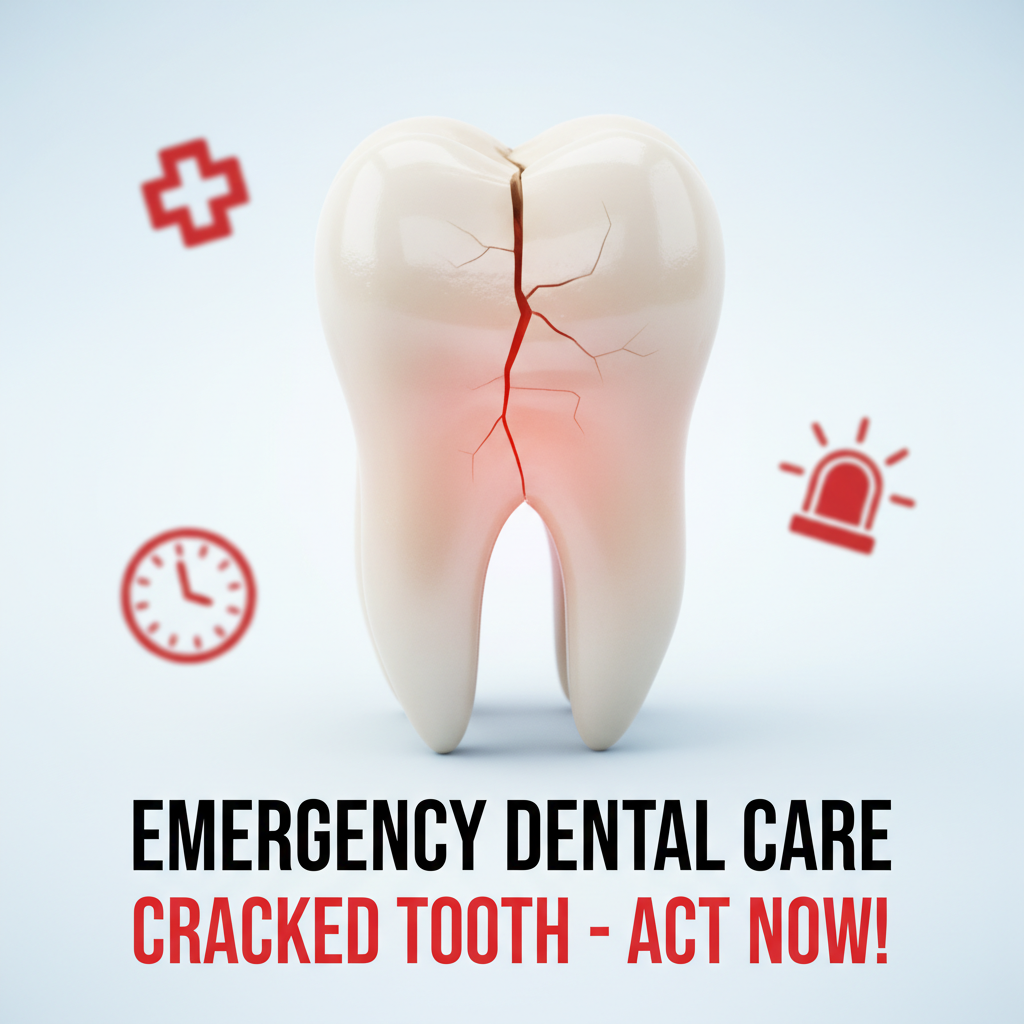
Many follow-up visits involve simple evaluations and minor adjustments. For example, if you had a temporary crown placed after a cracked tooth, your dentist will check its fit and look for any spots causing irritation. In cases of root canal therapy combined with crown preparation, you might transition from a temporary crown to a permanent one. A root canal with crown can cost up to $2,736, depending on the tooth type [1].
If you underwent an extraction, your dentist may inspect the socket, remove any stitches, and discuss options for replacement—whether a dental bridge or an implant. A dental implant plus surgical extraction runs about $3,058 on average in the U.S. [1].
Typical timeline
Your dentist will outline a tailored schedule to complete your treatment. Often, follow-up appointments occur within seven to ten days for simple check-ins or suture removal. More complex cases—like finishing a root canal—may require two to three visits over several weeks.
Between each visit, you’ll get home-care instructions to support healing (see after emergency extraction care). Sticking to this timeline keeps your treatment on track and minimizes the risk of setbacks.
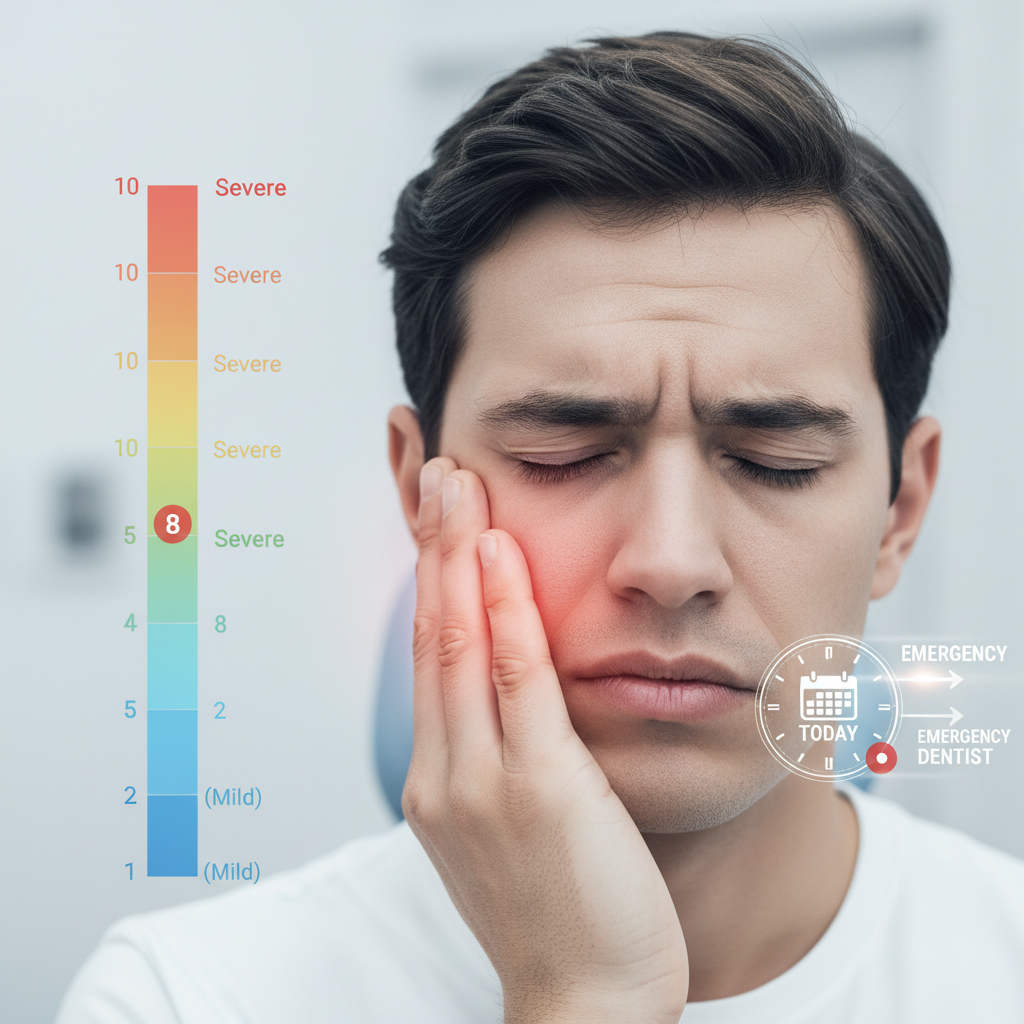
Manage your discomfort
After an emergency procedure, some soreness or swelling is normal. Your dentist will recommend strategies to help you stay comfortable as you heal.
Medication options
Over-the-counter pain relievers like ibuprofen or acetaminophen are often sufficient for mild to moderate pain. If your dentist prescribes a stronger analgesic or antibiotic, follow the dosage instructions exactly.
For guidance on keeping pain in check, see our resource on pain management post extraction and reach out to your post procedure pain relief dentist if you have questions.
Home remedies
Applying a cold compress to your cheek for 10 to 15 minutes at a time helps reduce swelling and numbs discomfort. Make sure to wrap ice packs in a thin cloth to protect your skin. Rest and elevated head position also support circulation and limit inflammation.
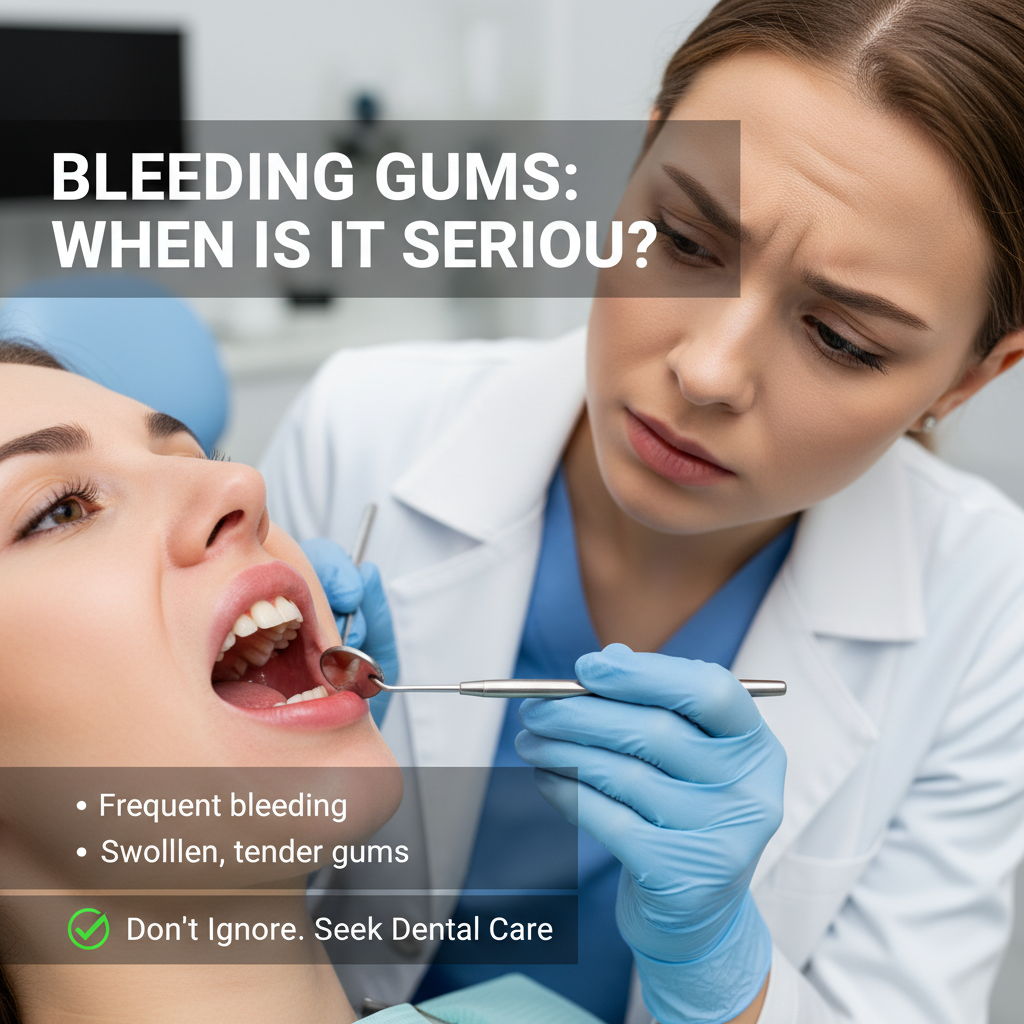
Patients who experienced bleeding initially should continue gentle biting on gauze, replacing it every 20 minutes until the oozing subsides. Persistent bleeding or swelling beyond 24 hours may indicate a complication and should prompt a call to your dentist [2].
Maintain oral hygiene
Good oral hygiene speeds healing and prevents secondary infections. Be gentle but thorough when cleaning around the treated area.
Start by rinsing with warm saltwater—a teaspoon of salt in eight ounces of water—several times a day. This flushes bacteria and soothes irritated tissue. After 24 hours, you can resume brushing your other teeth normally, but avoid direct contact with the surgical site.
Flossing stays important, but skip the treated gap until your dentist gives the go-ahead. For detailed steps, review our post procedure dental care and emergency dental aftercare instructions.
A soft-bristled brush is your best friend right now. It removes plaque without aggravating sensitive gums. Keeping the rest of your mouth healthy reduces the chance of germs reaching the healing site.
Follow diet recommendations
What you eat during recovery has a direct impact on healing. For the first few days, stick to cool, soft foods that require minimal chewing.
Consider yogurt, smoothies, mashed potatoes, and scrambled eggs. These provide nutrients without stressing the surgical area. As you progress, you can introduce slightly firmer foods like oatmeal or soft cooked vegetables.
Avoid hot, spicy, or crunchy items—chips, nuts, and toast—until your dentist confirms it’s safe to chew normally. For a full list of do’s and don’ts, see diet instructions after dental surgery.
Proper hydration also matters. Drink plenty of water, but steer clear of straws. The suction action can dislodge blood clots that are essential for clot formation and bone preservation.
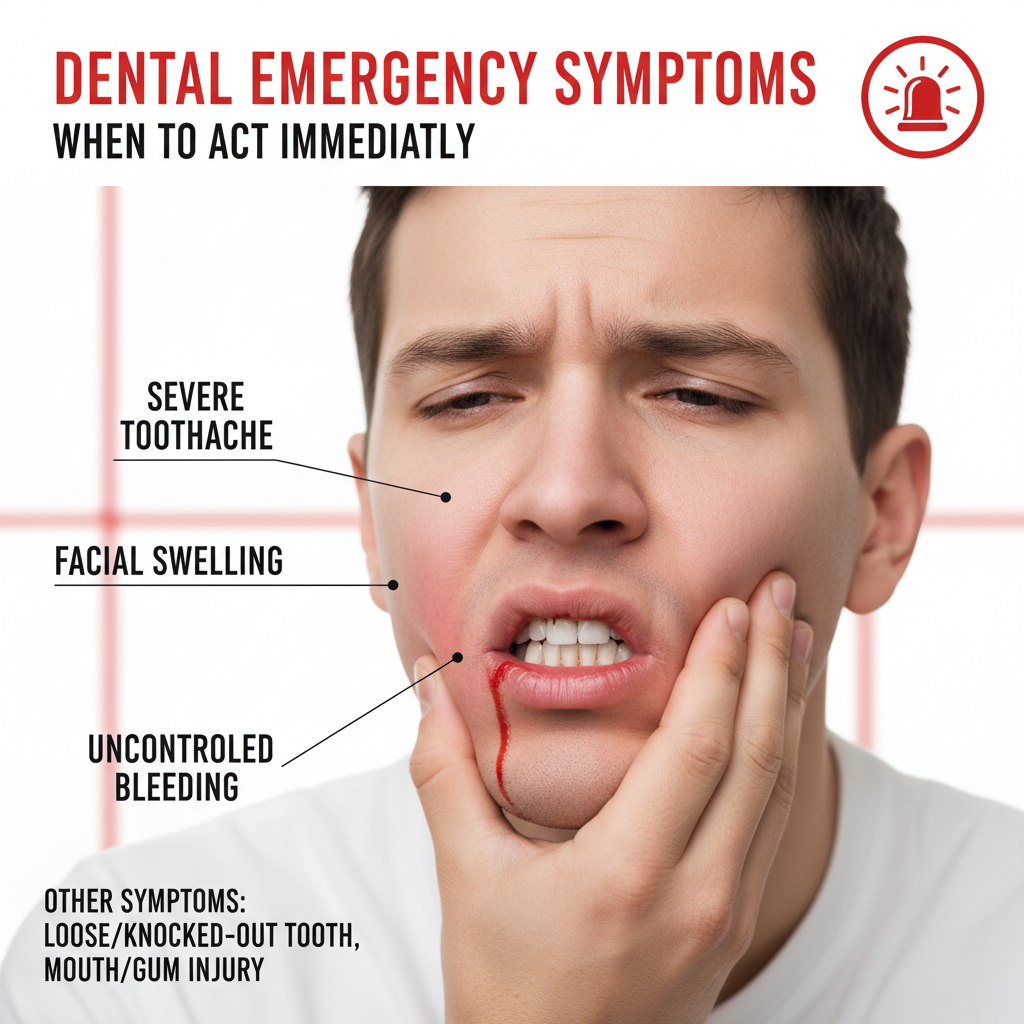
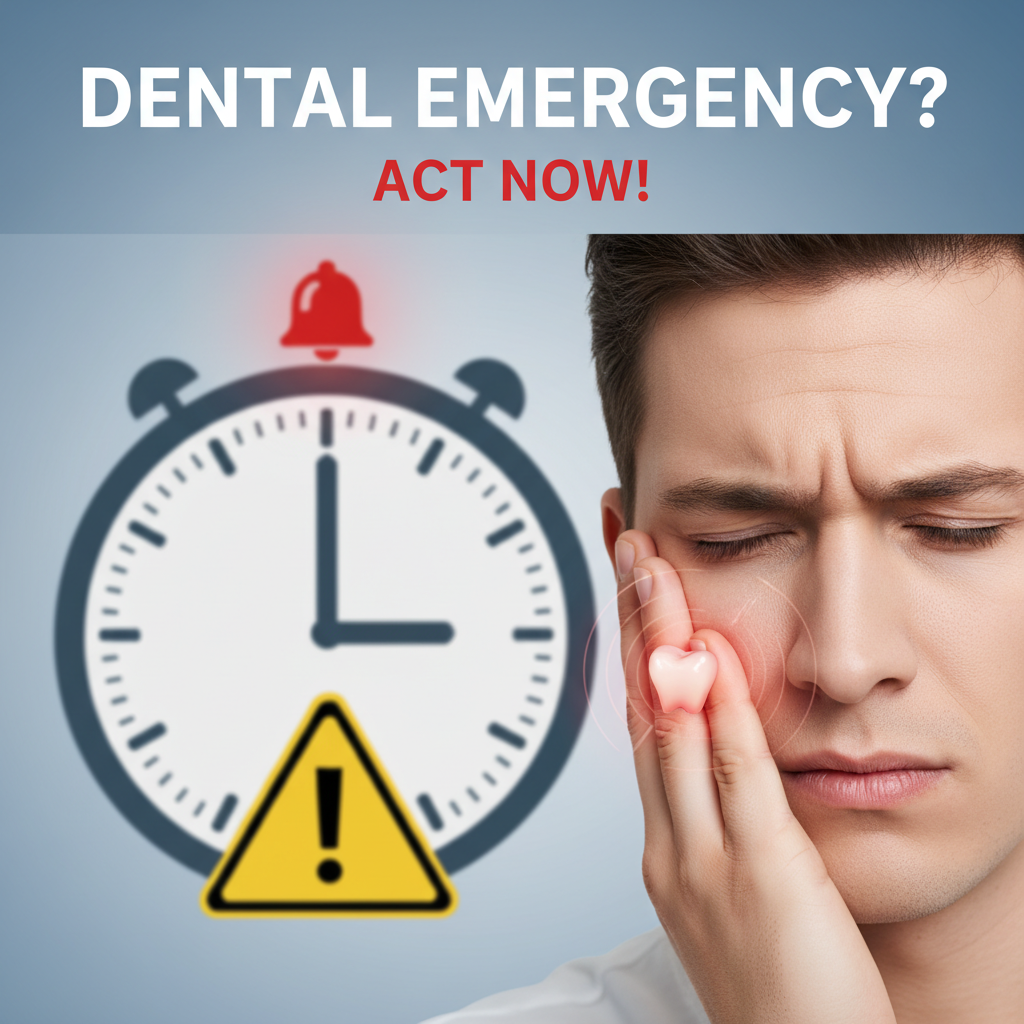
Watch for warning signs
Most follow-up visits go smoothly, but you should know when to call for help. Watch for:
- Persistent or worsening pain despite medication
- Uncontrolled bleeding or oozing beyond 24 hours
- Fever or chills suggesting infection
- Significant facial swelling or redness around the site
- Numbness that does not subside
If you experience any of these, contact your dentist immediately or seek an emergency dental follow up appointment. Early intervention prevents minor issues from becoming major complications.
Plan further treatment
Your follow-up visits set the stage for completing your emergency care. Knowing what lies ahead helps you stay prepared.
Suture removal and crown placement
If your initial visit included stitches, your dentist will remove them during a follow-up. This is usually quick and painless. Once the area is healed, you’ll switch from a temporary crown to a custom permanent one that matches your bite and smile.
Many practices offer suture removal follow-up dental services on the same day as crown checks. Having both tasks in one visit saves time and cuts down on extra appointments.
Specialized treatments
In cases of dental trauma—chipped, broken, or knocked-out teeth—you may need bonding or splinting. If re-implantation wasn’t possible, planning for a dental bridge or implant takes center stage. Patients often consult about follow up on repaired tooth or after root canal follow up at this time.
Mapping out the remaining steps—whether adjusting an orthodontic appliance or scheduling an implant surgery—gives you peace of mind and a clearer path to full restoration. ladycherie666 welcome to the party
Leverage supportive resources
Recovery extends beyond your dentist’s chair. Taking advantage of additional services and guidance speeds healing and boosts confidence.
- emergency dental healing care: Regular check-ins and home-care tips help you navigate the first crucial weeks. Visit our guide to emergency dental healing care for personalized advice.
- emergency dental recovery guidance: From pain diaries to swelling trackers, these tools keep you on top of every symptom. Explore emergency dental recovery guidance for downloadable resources.
- emergency dental recovery clinic: If you need extended monitoring, seek out our partner clinics specializing in post-emergency follow-ups. Find a location near you with emergency dental recovery clinic.
- post dental emergency plan: Plan for potential setbacks by creating a checklist of supplies and contacts. Learn how to build your own post dental emergency plan.
- aftercare for dental trauma: Specialized protocols apply if you suffered a broken or avulsed tooth. Our aftercare for dental trauma page breaks down every step.
- post emergency dental cleanup: Proper cleaning between visits removes debris that can interfere with healing. Follow our post emergency dental cleanup checklist.
- healing process emergency dental: Understanding tissue regeneration and bone remodeling helps set realistic expectations. Dive into healing process emergency dental for scientific insights.
These resources complement your dentist’s instructions and put you in control of your own recovery journey.
“A proactive approach to follow-up care transforms a dental emergency into a temporary setback rather than a lasting problem.”
Conclusion
Your follow-up emergency dental visit is a critical bridge between urgent care and full recovery. By preparing in advance, understanding the steps ahead, managing discomfort, and maintaining excellent aftercare habits, you empower yourself to heal swiftly and confidently.
Keep an eye on any warning signs and stay in close communication with your dental team. With the right resources and a clear plan, you’ll emerge from this process stronger, healthier, and ready to flash your smile again.