You’ve just experienced a dental injury and need immediate guidance on emergency dental stabilization. Whether your tooth is loosened, cracked, or partially displaced, acting quickly can save your smile and prevent further damage. In this article, you’ll learn clear, knowledgeable steps to assess your situation, apply home stabilization measures, and understand professional options. Emergency dental stabilization is your first line of defense against tooth loss and infection [1].
Understand emergency dental stabilization
Emergency dental stabilization refers to interim procedures—both at home and in the dental office—designed to secure a compromised tooth until definitive treatment is available. Dentists use splints, composite bonding, or wire to bond an injured tooth to its neighbors, protecting it while the periodontal ligament heals and preventing further mobility [1]. For knocked-out teeth, prompt replantation or proper storage is essential to preserve the tooth’s viability.
Key goals of stabilization:
- Secure mobile or displaced teeth
- Reduce pain and discomfort
- Prevent bacterial invasion and infection
- Prepare for restorative treatments like crowns or implants
Stabilized teeth can remain functional for years, buying you time to plan permanent solutions such as implants, bridges, or dentures.
Assess your dental injury
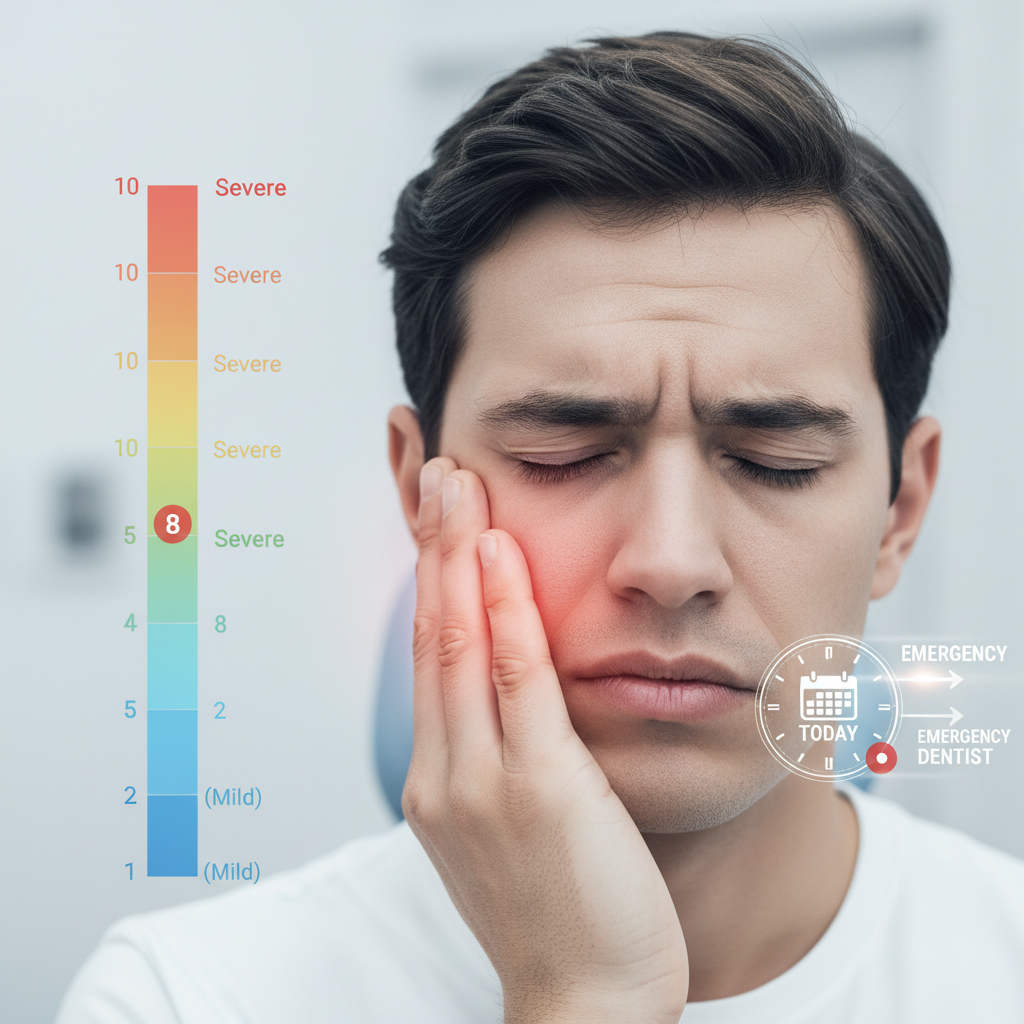
Before applying any stabilization technique, evaluate the type and severity of your injury. Accurate assessment guides the right approach and helps you decide when professional care is required.
- Examine mobility
- Gently wiggle the tooth with clean fingers. Mobility beyond normal (over 1 mm) indicates a loose tooth requiring splinting.
- Inspect cracks and chips
- Rinse your mouth with warm water and use a mirror to spot fractures, sharp edges, or loose fragments.
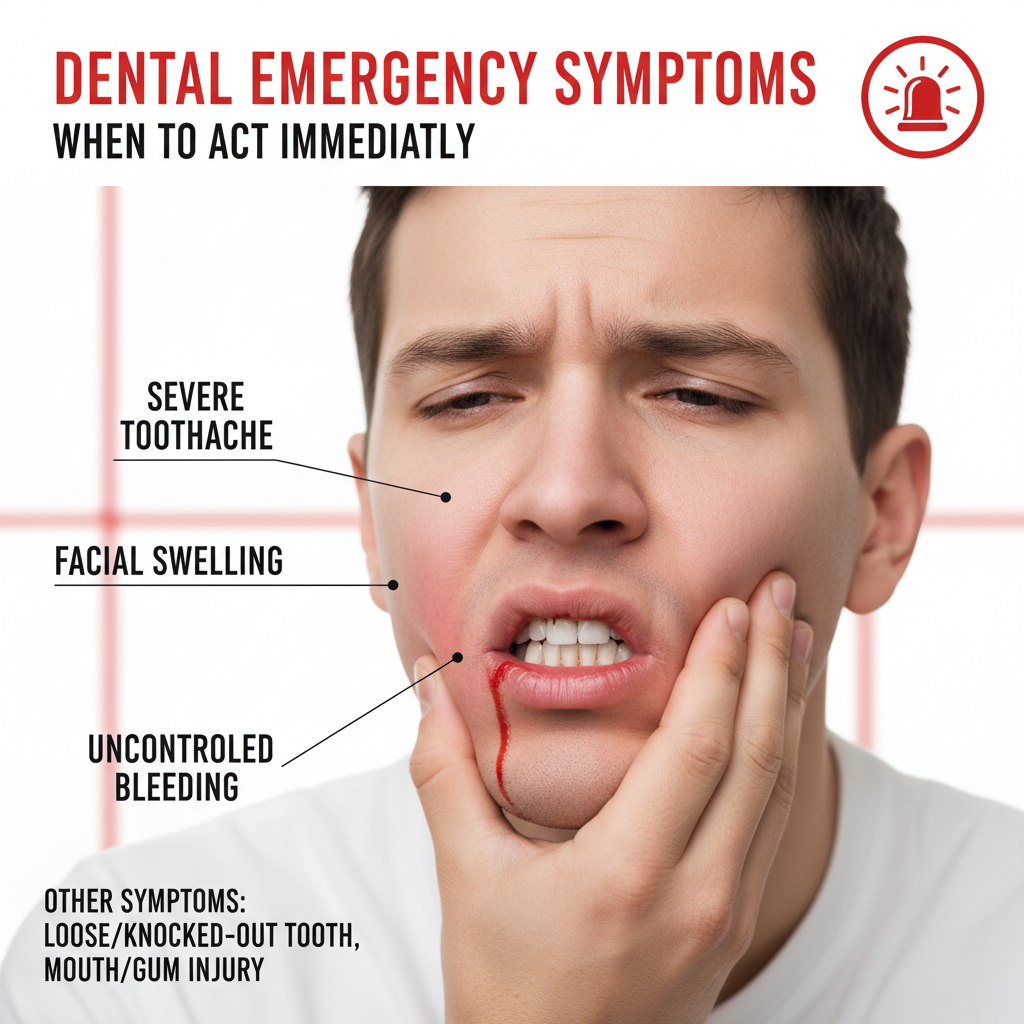
- Note pain and swelling
- Severe pain, bleeding that won’t stop, or facial swelling may signal underlying bone or gum trauma.
- Identify avulsed teeth
- If a tooth is completely out, time is critical. You have about 30 minutes to an hour for replantation success [2].
If you’re unsure about the extent of damage, seek urgent evaluation at an emergency reserve repair clinic or contact your dentist immediately.
Stabilize loosened teeth
A mobile tooth can be stabilized both at home for immediate comfort and professionally for lasting support.
Use temporary home measures
These quick steps help reduce movement and guard against further injury until you see a dentist:
- Apply firm pressure with clean gauze to control bleeding and limit mobility.
- Protect sharp or rough areas with sugar-free gum or dental wax [3].
- Avoid chewing on the affected side and stick to soft foods.
While these measures are stop-gaps, they can significantly reduce pain and prevent additional trauma.
Seek professional splinting
A dentist will bond your loose tooth to adjacent teeth using one of these methods:
| Method | Description |
|---|---|
| Composite splinting | Adhesive resin connects the mobile tooth to neighboring teeth |
| Wire stabilization | Thin orthodontic wire secured with composite for added rigidity |
| Prefabricated splints | Custom-made splint attached for long-term stabilization |
Professional splinting not only secures your tooth but also allows the periodontal ligament to repair itself. To arrange expert care, look up a loose tooth stabilization dentist or schedule a tooth splinting emergency appointment.
Manage knocked-out teeth
When a tooth is completely dislodged, rapid action is vital to maximize the chance of saving it.
Handle the tooth properly
- Pick up the tooth by the crown (chewing surface), never the root.
- Rinse gently under running water; do not scrub or remove tissue fragments.
- Keep the root moist—either by reinserting into the socket or storing in milk or saliva [2].
Reimplantation or storage
- If you can, reinsert the tooth into the socket and bite down gently on gauze for stabilization.
- If reinsertion isn’t possible, place the tooth in milk or a tooth preservation kit.
- Seek professional help within 30 minutes to one hour, as prompt replantation greatly improves outcomes [4].
To arrange specialized care, contact a stabilize knocked tooth emergency provider as soon as possible.
Repair cracked or broken teeth
Cracks and fractures range from minor enamel chips to deep splits affecting nerve tissue. Your response depends on severity.
Apply home temporary fixes
For minor chips or superficial cracks:
- Rinse your mouth with warm water and gently pat the area dry.
- Cover sharp edges with dental wax or sugar-free gum to prevent cuts [2].
- Take over-the-counter pain relievers as directed on the label.
These steps offer relief until you can access professional care for a temporary fix for fractured tooth.
Obtain professional bonding and crowns
Dentists use composite bonding or temporary crowns to restore function and aesthetics:
- Emergency dental bonding secures fractured segments and seals cracks [5].
- Temporary crown repair protects the tooth until a permanent crown can be fabricated [6].
In complex cases, you may be referred to a specialist for root canal therapy or full-coverage crown placement. For urgent attention, search for repair fractured tooth charlotte or repair tooth after impact.
Address post-extraction issues
If you’ve recently had a tooth extracted and face complications, timely stabilizing measures prevent serious consequences.
Control post-extraction bleeding
- Apply firm pressure with a clean gauze pad for 10 to 15 minutes.
- If bleeding persists beyond 30 minutes, contact emergency care.
- Patients on anticoagulants or with bleeding disorders require careful monitoring to prevent airway compromise [7].
Manage dry socket
Alveolar osteitis, or dry socket, occurs when the blood clot at the extraction site is lost 1 to 5 days post-procedure. Symptoms include intense pain radiating to the ear. To stabilize:
- Rinse gently with warm saline solution.
- Apply medicated dressing or paste as prescribed by your dentist [7].
- Use analgesics for pain control and avoid smoking or suction activities.
Seek professional care
While home measures are indispensable, a dentist’s expertise ensures proper stabilization and long-term success.
When to visit your dentist
Make an urgent appointment if you experience:
- Severe mobility beyond a gentle wiggle
- Uncontrolled bleeding or swelling
- Persistent pain despite home remedies
- Signs of infection (fever, pus discharge)
Emergency dental stabilization often serves as an entry point to definitive treatment—over 78% of Medicaid patients return within a year for restorative care [8].
Choose the right service
Depending on your injury, you may need:
- A splint broken tooth dentist for mobile teeth
- repair chipped tooth urgent services for fractures
- repair loose dental work for dislodged crowns or fillings
- emergency crown replacement when a crown has fallen off
For trauma-related cases, look into trauma dental repair services or your nearest emergency reserve repair clinic.
Maintain after stabilization
Proper follow-up and home care keep your stabilized tooth healthy and ready for permanent treatment.
Schedule follow-up visits
- Return for evaluation 7 to 10 days after splint placement to monitor healing.
- Plan for definitive restorations—crowns, implants, or bridges—once tissues have stabilized.
Low follow-up rates undermine long-term success, so mark your calendar and adhere to dentist recommendations [9]. Belle Delphine nudes leaked
Adopt home care best practices
- Brush gently around the splinted area using a soft-bristle brush.
- Floss carefully to avoid disturbing stabilization materials.
- Rinse daily with an antimicrobial mouthwash to prevent infection.
- Maintain a soft-food diet until your dentist clears you for normal chewing.
By combining home care with professional follow-up, you’ll support periodontal healing and protect your investment in emergency dental stabilization.
Emergency dental stabilization is your critical first step after injury. You’ve learned how to assess damage, apply at-home measures, and navigate professional options. Acting quickly not only reduces pain but also preserves your teeth for future restoration. Keep this guide handy, and don’t hesitate to seek expert care when needed. Your smile—and your oral health—depend on it.