Understand your recovery journey
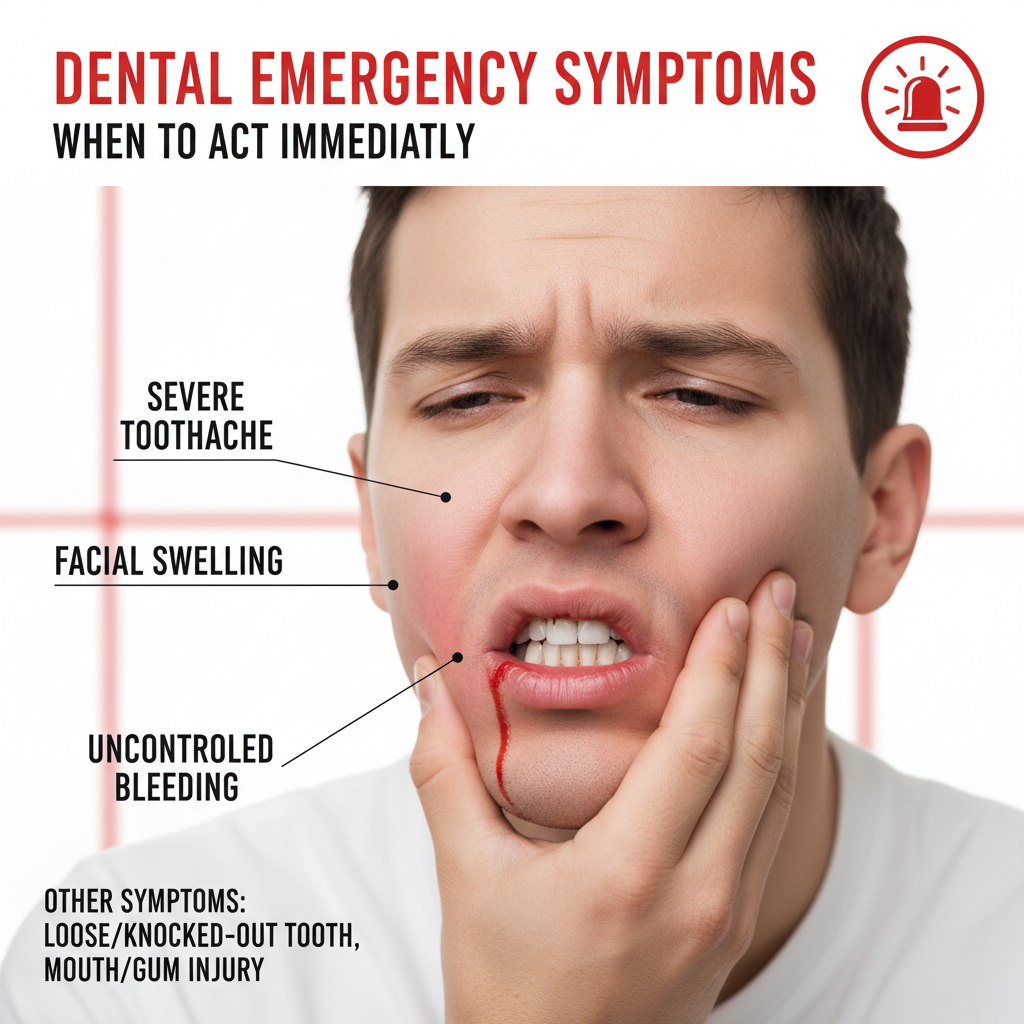
You’ve just come through a dental emergency and taken the first crucial step by getting prompt treatment. A dental emergency is defined as any problem requiring immediate attention, such as uncontrollable bleeding, pain that does not improve with medication, or broken facial bones, and prompt treatment is necessary to prevent further damage [1]. Now your focus shifts to recovery—managing discomfort, preventing complications, and restoring your smile.
Your recovery timeline depends on the type of emergency you faced. Whether you had a knocked-out tooth, a severe toothache treated in the emergency room, or stitches placed after oral surgery, each scenario calls for tailored guidance. Following best practices for post-emergency support will help you heal faster, reduce the risk of infection, and avoid setbacks in your oral health journey.
By understanding what to expect over the coming days and weeks, you can take control of your healing process and participate actively in your care. This article lays out clear emergency dental recovery guidance, covering self-care measures, pain management, diet adjustments, oral hygiene, follow-up steps, warning signs, and long-term restorative planning.
Apply initial self-care measures
Right after your emergency treatment, your mouth needs gentle attention. The goals are to keep the treatment site clean, control bleeding and swelling, and protect any dressings or sutures.
Control bleeding
In the first few hours, slight oozing is normal. If bleeding continues:
- Fold clean gauze into a small pad and place it over the site.
- Bite down firmly but gently for 20 to 30 minutes.
- Replace saturated gauze with fresh pads as needed.
If bleeding does not slow after an hour, call your dentist or seek care at an urgent care center [1]. Avoid rinsing vigorously or spitting, as that can dislodge the clot and restart bleeding.
Reduce swelling
Swelling peaks between 24 and 48 hours. To minimize puffiness:
- Apply a cold compress to your cheek in 15-minute intervals, with 15-minute breaks in between.
- Keep your head elevated, even when resting.
- Avoid hot foods or drinks for the first day.
Persistent or worsening swelling after 48 hours may indicate infection. If that happens, reach out to your dentist or emergency dental recovery clinic for a checkup.
Manage pain effectively
Even with successful treatment, discomfort can linger. Pain management reduces stress on your body and promotes restful sleep, both of which accelerate healing.
Use medications wisely
Over-the-counter ibuprofen or acetaminophen can control mild to moderate pain. Follow the label dosing instructions carefully and space doses evenly. If your dentist prescribed stronger medication, take it exactly as directed. Combining ibuprofen with acetaminophen often provides superior relief, but check with your provider first.
Never apply aspirin or other medications directly to the gums or tooth. That can irritate soft tissues and delay healing. For extraction pain relief, see our guide on pain management post extraction and post procedure pain relief dentist.
Try cold therapy
When pain flares up, cold can work alongside medication:
- Place a wrapped ice pack on the outside of your cheek for up to 20 minutes.
- Do not apply ice directly to skin.
- Repeat every two to three hours as needed.
Alternating cold with short periods of gentle warmth after 48 hours can help boost circulation and reduce stiffness.
Nourish your body
Good nutrition supports tissue repair and strengthens your immune system. Focus on easily chewed, nutrient-dense foods while your mouth heals.
Follow a soft diet
For the first three to five days, stick to soft foods that won’t irritate your extraction site or stitches. Use the table below to plan your meals, and check our diet instructions after dental surgery for more recipes.
| Stage | Timeline | Food examples |
|---|---|---|
| Very soft | Days 1–2 | Applesauce, Greek yogurt, mashed banana |
| Soft but textured | Days 3–5 | Scrambled eggs, oatmeal, pureed soups |
| Transition | Days 6–10 | Soft pasta, ripe avocado, well-cooked fish |
| Normal diet | After day 10+ | Return gradually to your usual diet |
As you progress, reintroduce firmer foods slowly. If you feel a twinge at the treatment site, revert to softer options for another day.
Stay hydrated
Keeping tissues moist helps healing. Aim for at least eight glasses of water daily. Avoid alcohol and caffeinated beverages for the first 48 hours, as they can interfere with clot formation and hydration. Sipping cool, non-carbonated drinks also soothes raw areas in your mouth.
Maintain oral hygiene
A clean mouth prevents infection and promotes faster recovery. You may need to adjust your normal brushing and rinsing routine to protect surgical sites and stitches.
Brush and floss gently
Maintain your usual brushing schedule, but be extra gentle near the affected area. Use a soft-bristled toothbrush and light strokes to remove plaque. If the dentist placed stitches, avoid brushing directly over them until they dissolve or are removed.
Floss near the site only after a week or when advised. Tugging floss too soon can disrupt healing tissues or dislodge a clot.
Choose appropriate rinses
Starting 24 hours after treatment, rinse your mouth with a warm saltwater solution (½ teaspoon of salt in 8 ounces of water) three times daily. Swish gently without force. You can also use a dentist-approved antimicrobial rinse as directed.
For step-by-step guidance on keeping your mouth clean after an emergency, see emergency dental aftercare instructions.
Schedule follow-up appointments
Follow-up visits confirm that you’re healing well and allow early intervention if complications arise.
When to book your next visit:
- Within 24 to 72 hours if bleeding or swelling persists
- About one week later for stitch checks or removal
- Two to four weeks after certain procedures, such as root canals or implant placements
Your follow-up may include X-rays, suture removal, and a review of your healing progress. Learn more about what to expect at your follow up emergency dental visit and how to prepare for an emergency dental follow up appointment. If you had stitches, don’t miss your suture removal follow-up dental appointment.
Maintaining these appointments reduces the risk of infection, ensures proper tissue integration, and sets the stage for any further restorative steps.
Spot warning signs
Even with meticulous care, complications can occur. Recognizing warning signs early means faster treatment and fewer long-term issues.
Signs you should call your dentist right away:
- Uncontrolled bleeding after one hour of pressure
- Fever above 100.4°F, indicating possible infection
- Severe pain that medication cannot relieve
- Numbness that persists beyond a few hours
- Foul taste or odor coming from the treatment site
- Swelling that worsens after 48 hours instead of improving
If you experience difficulty breathing or swallowing, seek emergency medical care immediately. For more on the normal healing timeline, review our healing process emergency dental resource.
Restore dental health
Once the acute phase is behind you, focus on long-term restoration and function.
Consider restorative options
Depending on your emergency, you may need permanent solutions:
- Crowns or bridges for fractured teeth
- Dental implants or partial dentures to replace avulsed teeth
- Root canal therapy for severely infected roots
Discuss timing and sequencing with your dentist. Some restorations can proceed as soon as two weeks after healing, while others require more time.
Plan for ongoing care
Your dentist might recommend specialized follow-up steps, such as:
- After root canal follow up visits to monitor canal healing
- Follow up on repaired tooth checks after bonding or crown placement
- A custom post emergency dental plan outlining maintenance visits and preventive strategies
An emergency dental recovery clinic can guide you through these options, helping you regain full oral health and confidence.
Conclusion
Recovery after a dental emergency is a multi-step process that hinges on careful at-home care, strategic pain management, balanced nutrition, and timely follow-up visits. By applying these emergency dental recovery guidance principles, you minimize the risk of complications and promote smooth healing.
Stay proactive: keep your mouth clean, nourish your body, attend every follow-up appointment, and watch for red flags. If questions arise at any stage, don’t hesitate to contact your dental team or explore resources like aftercare for dental trauma and emergency dental healing care. With the right approach, you’ll move beyond emergency treatment toward a fully restored, healthy smile.