Understand your aftercare
After an emergency tooth extraction, following clear after emergency extraction care guidelines helps you avoid complications and accelerate healing. Right from the moment you leave the dental office, your choices—rest, posture, diet, and oral hygiene—set the tone for a smooth recovery. By understanding the steps ahead, you empower yourself to protect the surgical site, minimize pain, and reduce the risk of conditions like dry socket or infection.
Healing progress varies from person to person but generally follows a predictable pattern: clot formation, soft tissue repair, and bone remodeling. Recognizing these stages prepares you to adjust your care routine as swelling goes down and new tissue forms. If you ever feel uncertain about what comes next, our emergency dental recovery guidance offers in-depth insights tailored to your situation.
Keep in mind that orchestrating each element of your routine—whether you’re managing pain, selecting foods, or planning your next appointment—is part of a unified strategy. This integrated approach to aftercare reduces stress, prevents setbacks, and ensures you keep moving toward full comfort and function. Treat each recommendation as a building block in your recovery plan, and don’t hesitate to reach out to your dentist if anything feels off.
Manage initial discomfort
In the first hours after extraction, discomfort and mild bleeding are normal. Your dentist will place gauze over the socket, and applying firm pressure by gently biting down for at least 15 minutes encourages clot formation. If bleeding continues beyond two hours, carefully replace the gauze and maintain pressure. Excessive spitting or mouth rinsing can dislodge the clot, so resist the urge to check the site constantly.
You’ll likely experience throbbing or aching pain once local anesthetic wears off. Over-the-counter pain relievers like ibuprofen help reduce inflammation and pain, especially when taken before the numbness fades completely. For stronger discomfort, follow any prescription pain management plan your dentist provides. Proper pain control isn’t just about comfort—it prevents you from tensing the jaw or skipping rest, both of which can delay healing. For specialized techniques and medication guidance, see our pain management post extraction and consult a post procedure pain relief dentist.
Rest is equally important. Keep your head elevated on one or two pillows during the first 48 hours to reduce blood pressure at the extraction site. Lying flat makes bleeding more likely and delays clot stabilization. If sleep is difficult, extra head support often eases discomfort. By proactively managing pain and positioning, you set the stage for the next phases of your recovery.
Protect the blood clot
A stable blood clot is your body’s natural bandage, shielding exposed bone and nerves while new tissue grows. To protect this clot, you must avoid anything that creates suction or disturbs the surgical site. Resist smoking, using straws, vigorous mouth rinsing, spitting forcefully, or blowing your nose—each of these actions can prematurely dislodge the clot and lead to painful dry socket. Equally important is steering clear of hot, carbonated, or alcoholic beverages that might dissolve or disturb the clot matrix.
When you need to sip water, do so gently and let fluids pool away from the extraction side. If you must sneeze or cough, try to keep your mouth open and avoid sudden pressure changes that could affect the healing socket. Sleeping with your head raised and avoiding direct pressure on the jaw for the first two days further safeguards the clot.
Your dentist’s written aftercare instructions will often include a sequence of do’s and don’ts—stick to them precisely. If you feel any shift or slippage in the clot, call your dental office right away. Prompt attention can prevent complications and get you back on track for unobstructed healing. For a complete checklist of care steps, refer to our emergency dental aftercare instructions.
Reduce swelling naturally
Swelling typically peaks between 48 and 72 hours after extraction as your body marshals healing mechanisms. You can mitigate this by combining cold and warm compresses at the right times, along with gentle massage around the cheek.
“Postoperative swelling from dental surgery typically peaks 48-72 hours after surgery and applying moist heat (warm towel or hot water bottle) during this period can help reduce the swelling.” [1]
For the first 24 hours, apply an ice pack wrapped in a thin cloth to the outside of your cheek in 15-minute intervals, followed by 15 minutes off. This constricts blood vessels and limits fluid buildup. After the initial day, switch to moist heat: a warm, damp towel or heat pack encourages circulation and speeds removal of accumulated fluid. Gentle circular motions with your fingertips can further relieve tension in the jaw and face.
Alongside temperature therapy, maintain your anti-inflammatory regimen. If your dentist recommended prescription medication, follow the schedule exactly. If not, over-the-counter options like naproxen or acetaminophen can be alternated with caution and always with food to prevent stomach upset. By combining physical and pharmacological methods, you’ll face less discomfort and notice your face returning to its normal contours faster.
Monitor for complications
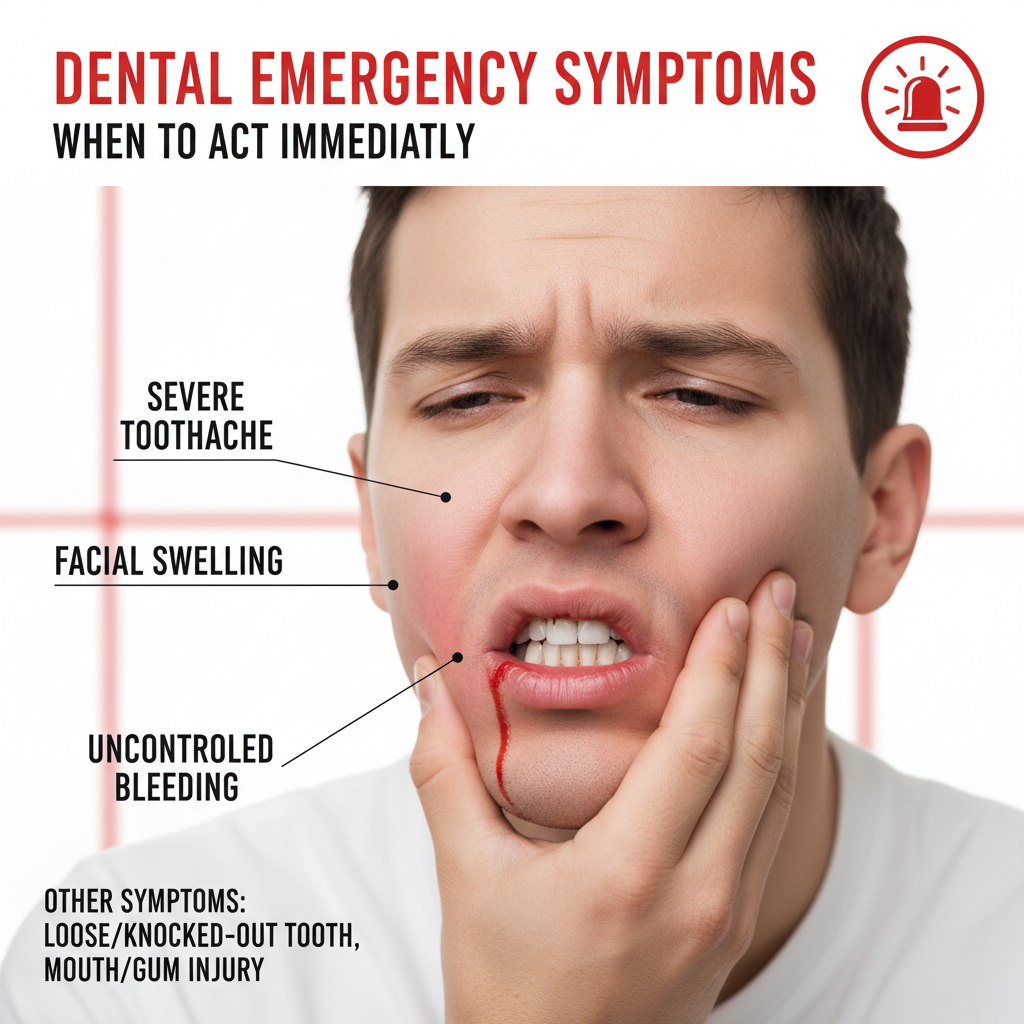
Even with flawless aftercare, you should stay alert for warning signs that require professional attention. The most urgent indicators include:
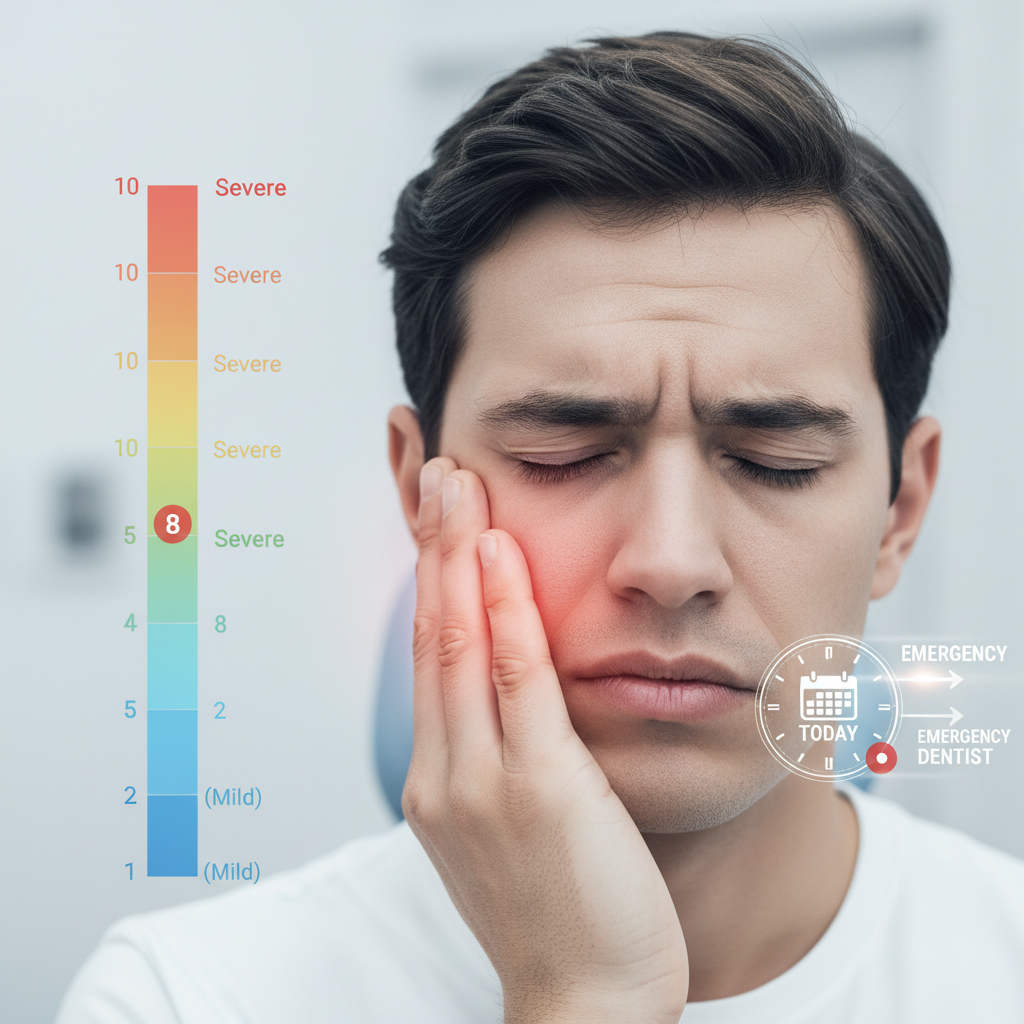
- Severe or throbbing pain that worsens after the third day
- Heavy bleeding that soaks through gauze repeatedly
- Fever above 100.4°F or chills
- Foul taste or odor from the extraction site
- Swelling that spikes instead of tapering
- Pus or unusual discharge at the wound
- Numbness or tingling beyond 24 hours
- Difficulty breathing or swallowing
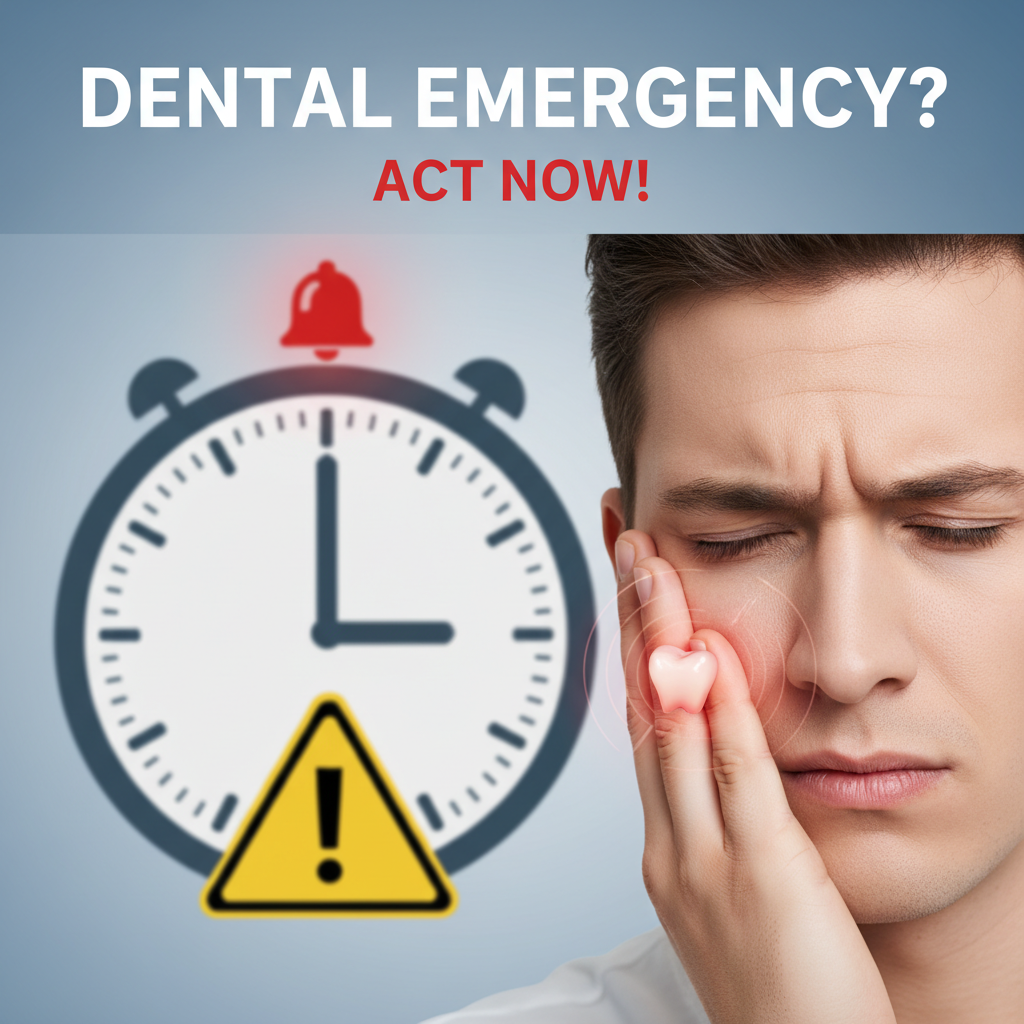
If you experience any of these symptoms, don’t hesitate—contact your dentist or seek emergency dental care immediately. Conditions like infection or dry socket respond best when treated early, preventing more extensive interventions later. For a deeper dive into recognizing and addressing post-extraction complications, see our aftercare for dental trauma.
When to seek immediate care
If bleeding does not slow with firm gauze pressure after an hour and a half, or if swelling and fever appear simultaneously, head to an emergency dental clinic or call your dentist’s emergency line. Prompt assessment and treatment—whether flushing the socket, placing a medicated dressing, or prescribing antibiotics—can avert serious setbacks and help restore comfort quickly.
Follow dietary guidelines
Your diet during recovery acts as nutrition and protection for the extraction site. Follow this timeline to balance healing needs with adequate nourishment:
| Timeline | Recommended foods | Why it matters |
|---|---|---|
| First 24–48 hours | Clear broths, yogurt, pudding, applesauce | Maintain fluids and calories without disturbing clot |
| Days 3–7 | Scrambled eggs, soft pasta, mashed potatoes, flaky fish | Introduce protein and soft textures |
| Days 7–10 | Soft bread, peeled avocado, well-cooked rice | Begin gentle solids as comfort allows |
| After day 10 | Gradual return to normal foods | Tissue strength supports more vigorous chewing |
Avoid spicy, hot, crunchy, or chewy items that could irritate or lodge in the socket. Smoking, vaping, and alcohol also undermine healing by restricting blood flow or dislodging clots. When you’re ready for firmer textures, take small bites and chew on the opposite side of your mouth. For detailed meal ideas and recipes designed for dental recovery, review our diet instructions after dental surgery.
If you have dietary restrictions—diabetes, food allergies, or weight management concerns—consult your dentist or a nutritionist. Adequate protein, vitamins C and D, and minerals like calcium and zinc play a vital role in tissue repair and immune support.
Maintain oral hygiene
Keeping your mouth clean without upsetting the healing socket requires a delicate balance. For the first 24 hours, avoid brushing teeth adjacent to the extraction site and forego rinsing altogether. After that initial period, gently flush your mouth with a warm saltwater rinse—one teaspoon of salt in an eight-ounce glass of water—twice daily for up to a week. Swish carefully, allowing the fluid to reach the extraction area without vigorous action.
When brushing, use a soft-bristled toothbrush and light strokes. Clean other teeth normally but angle the brush away from the surgical site. If your dentist provided a medicated mouthwash, follow the exact instructions and wait at least 30 minutes after your saltwater rinse to maximize effectiveness.
Avoid commercial rinses containing alcohol or peroxide, as they can irritate sensitive tissues. If food debris accumulates around the extraction, rinse after meals to prevent bacterial buildup. For comprehensive steps on cleaning your mouth after oral surgery, see post procedure dental care and post emergency dental cleanup.
Resume normal activities
Most patients can return to light daily tasks—sitting at a desk, walking, or gentle chores—within 48 to 72 hours after extraction [2]. However, strenuous exercise, heavy lifting, and bending should wait until at least four to seven days post-procedure. Sudden increases in blood pressure from intense activity can trigger bleeding or disrupt the clot.
Listen to your body: if your heart rate spikes quickly or you feel dizzy, pause and rest. Gradually reintroduce more vigorous workouts over one to two weeks, keeping the extraction side protected. If you play wind instruments or contact sports, ask your dentist for a tailored timeline. Protecting the site during physical activity ensures you don’t trade short-term freedom for long-term setbacks. For more on pacing your recovery, explore our healing process emergency dental.
Prepare for follow-up
Scheduling and attending follow-up visits is crucial to confirm proper healing and plan any restorative steps. Typically, your first check occurs within one week to remove or evaluate sutures. If your dentist used dissolvable stitches, they may assess tissue progress without removal. If non-dissolvable sutures were placed, you’ll need an appointment for removal—see suture removal follow-up dental.
Restoration planning
If you intend to replace the extracted tooth with an implant, bridge, or partial denture, your dentist will evaluate bone healing and gum health. Planning often begins a few months after extraction, once the socket gains sufficient strength to support an implant fixture [2]. Early discussions help you choose the right option for function and aesthetics, whether you need one tooth or a full arch solution.
Scheduling your visit
Book your follow-up before leaving the office or call within 48 hours if you miss the initial window. Keeping this appointment ensures your dentist can catch minor issues before they escalate. If you notice prolonged pain, bleeding, or signs of infection before that date, don’t wait—seek an urgent follow up emergency dental visit or emergency dental follow up appointment.
By preparing for these visits and planning restoration, you close the loop on after extraction care, moving from crisis management to long-term oral health and comfort.