Temporary crown repair can feel overwhelming when your provisional crown cracks, loosens, or falls off, yet understanding what to expect and how to act can make all the difference. In this article, you’ll learn how temporary crown repair works, when to stabilize your tooth, and which professional services to seek. We’ll also cover at-home stabilization tips, repair techniques, pain management, and steps for transitioning to a permanent crown.
Understand temporary crown repair
Role of a temporary crown
A temporary dental crown serves as a protective cap while your permanent crown is being fabricated. It keeps the prepared tooth covered, preserves alignment of surrounding teeth, and allows you to chew comfortably. Made from acrylic or stainless steel, these provisional crowns are easy to place and remove, but they are not designed for long-term use.
Common causes of damage
Temporary crowns can fail for several reasons:
- Cement breakdown when exposed to saliva and chewing forces
- Chewing hard, sticky, or crunchy foods that dislodge the crown
- Teeth grinding or clenching during sleep
- Improper fit or bite issues leading to pressure points
- Accidental trauma from biting into tough items
If you wear a crown beyond the typical 1 to 3 week period [1], the temporary cement can deteriorate, increasing the risk of decay, gum irritation, and tooth shifting.
Identify repair needs
Signs your temporary crown needs repair
You may need temporary crown repair if you experience:
- A loose or wobbly crown that moves when you touch it
- Sharp edges or rough feeling along the crown margin
- Pain or sensitivity when biting or drinking hot and cold beverages [2]
- Visible cracks or fractures in the crown material
- Gum irritation or swelling around the crowned tooth
Risks of delaying repair
Putting off temporary crown repair can lead to:
- Further damage to the underlying tooth structure
- Increased cavity risk if decay begins under the loose crown
- Misalignment of adjacent teeth shifting into the gap
- Gum infection that may complicate permanent crown placement
- Greater discomfort and more complex dental work later
Prompt action helps you prevent emergency rescue visits and keeps your treatment on schedule.
Stabilize your tooth
At-home stabilization methods
While you arrange a dental visit, you can take steps to protect your tooth:
- Retrieve and clean the temporary crown, if it has come off
- Apply over-the-counter temporary dental cement or denture adhesive to recement the crown for short-term protection
- Avoid sticky, hard, or chewy foods that may dislodge the crown further
- Use orthodontic wax to cover any sharp edges and protect your tongue
- Rinse gently with warm salt water to reduce irritation
These measures can help you hold off more serious issues until your appointment.
Professional splinting options
In case of a cracked or loosened provisional crown with underlying tooth mobility, your dentist may use splinting to stabilize tooth movement [3]. Splints can be made from wire, resin, or composite materials and bonded to adjacent teeth, providing support until a more permanent restoration can be placed.
Repair techniques overview
Temporary bonding
Dental bonding uses tooth-colored composite resin to seal cracks or reattach fragments temporarily. Your dentist cleans the area, roughens the surface with a mild acid, applies bonding agent, then sculpts and cures the resin. This emergency dental bonding technique offers a quick fix for minor fractures or loose margins, restoring function and reducing sensitivity.
Recementation of crowns
If your provisional crown has partially lost its seal, a dentist can remove old cement, clean both tooth and crown, then recement it using fresh temporary dental cement. This process restores stability and prevents further decay. According to Hove Dental Clinic, temporary crowns are intended for 1 to 3 weeks of wear, so recementation beyond that window should prompt discussion of your permanent crown schedule.
Comparison of provisional materials
Choosing the right temporary crown material can influence durability and comfort. The table below compares common provisional options based on fabrication method, lifespan, and properties (data from Stomadent Lab).
| Material type | Fabrication | Typical lifespan | Key pros | Key cons |
|---|---|---|---|---|
| Direct acrylic (PMMA) | Chairside | 2–3 weeks | Quick, low cost | Heat release during cure, shrinkage |
| Bis-acryl composite | Chairside | 3–4 weeks | Better aesthetics, less shrinkage | Higher cost than acrylic |
| Indirect CAD/CAM resin | Lab or chairside | 4–6 weeks | Superior fit, high strength | Requires lab or digital scan |
| Pre-formed polycarbonate | Chairside | 2–3 weeks | Stock sizes, easy adjustment | Shade matching, inventory management |
This overview helps your dentist select the optimal provisional material for your timeline and lifestyle.
Manage discomfort effectively
Home pain relief tips
While you wait for professional repair, you can manage sensitivity and minor pain with:
- Over-the-counter ibuprofen or acetaminophen following label directions
- Applying a cold pack against your cheek for 10 minutes to reduce swelling
- Avoiding very hot or cold foods and beverages that trigger sensitivity
- Eating soft foods like yogurt, mashed potatoes, or smoothies
When to take medication
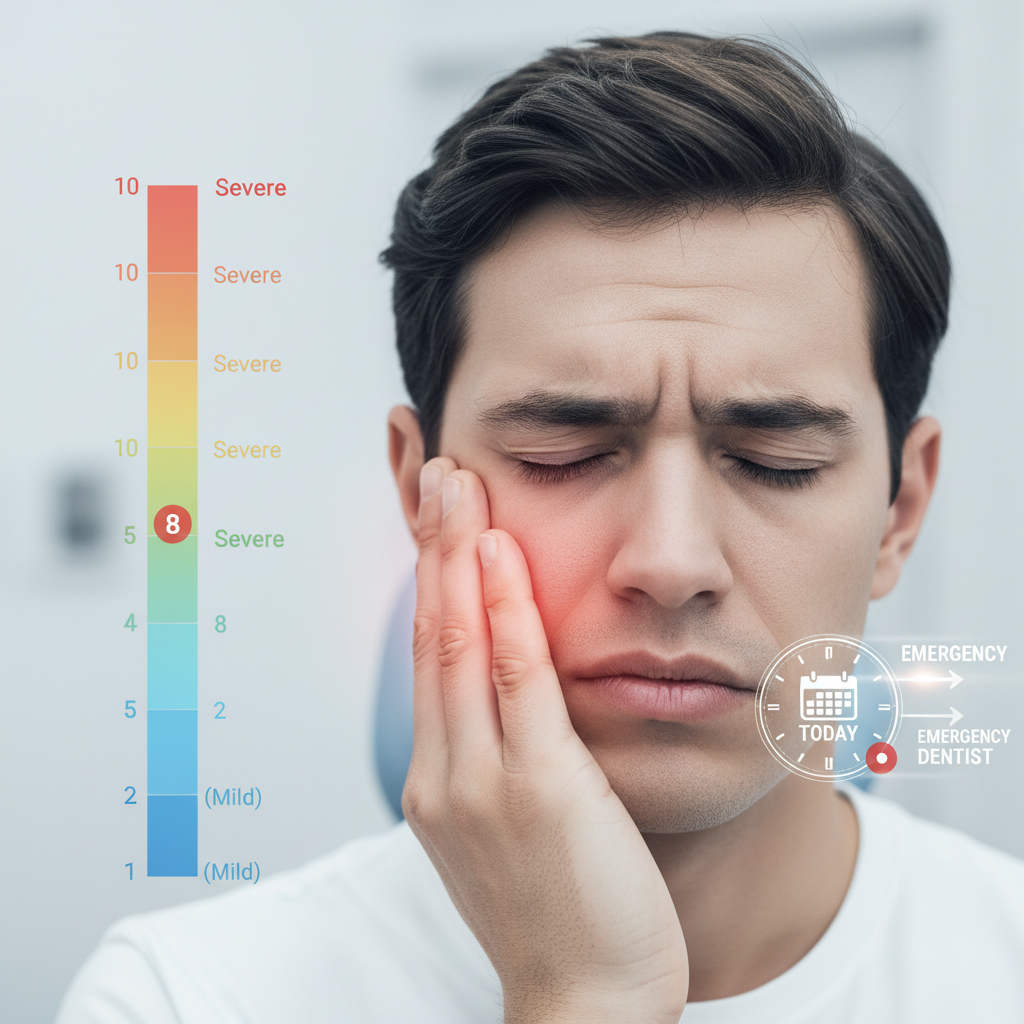
If your discomfort persists or intensifies, schedule a dental visit promptly. You should take prescription pain medication only as directed by your dentist. Never exceed recommended dosage and consult your provider if you have underlying health conditions or take other medications.
Seek professional care
When to contact a dentist
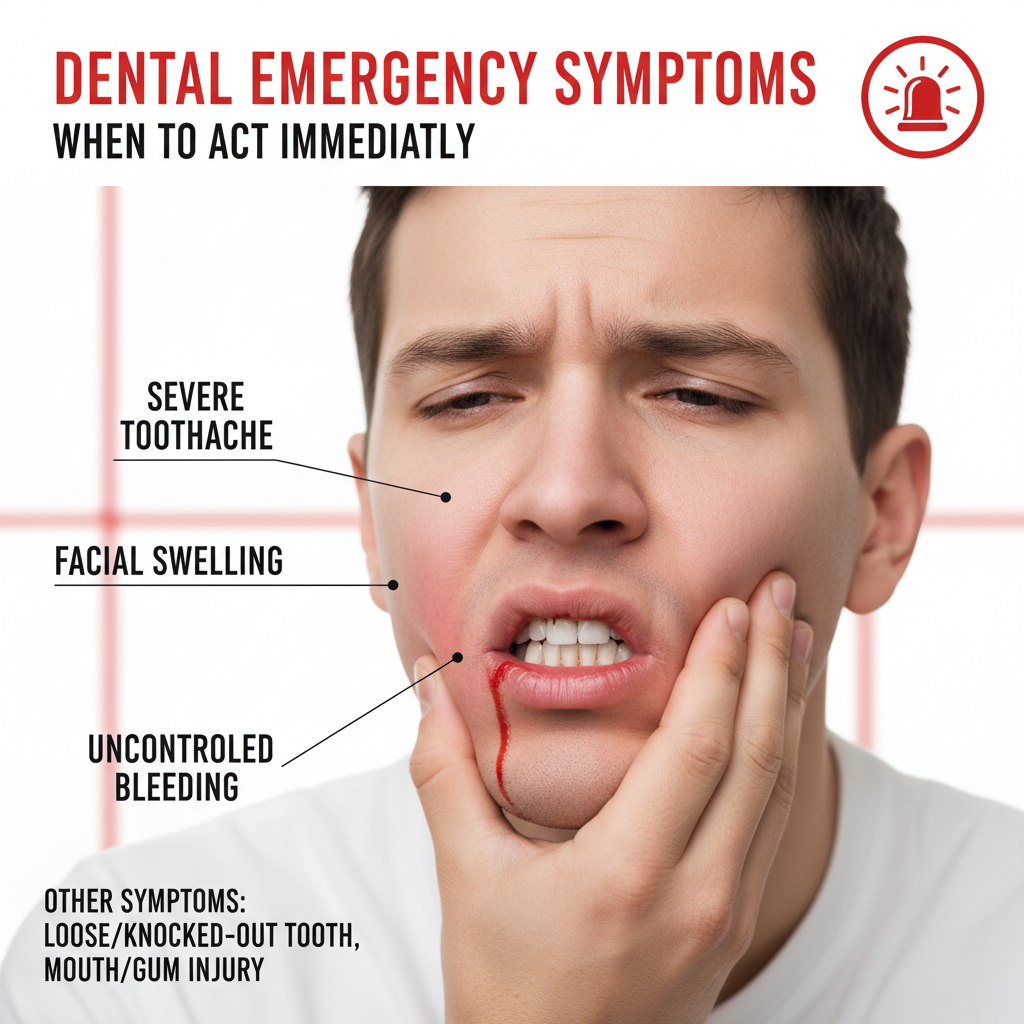
You should see a dentist immediately if:
- Your temporary crown falls out completely
- You experience severe pain or swelling
- You notice signs of infection such as pus or fever
- The tooth feels unusually mobile or displaced
If you need urgent intervention, look for specialized services like emergency crown replacement or a stabilize broken tooth dentist.
Finding the right clinic
When choosing where to go, consider:
- Availability of same-day or walk-in emergency slots
- Experience in provisional crown repair and splinting
- Access to digital imaging for precise fit assessments
- Transparent pricing and insurance support
You can also ask if the practice offers related services such as repair loose dental work and temporary fix for fractured tooth.
What to expect during repair
At your appointment, your dentist will:
- Examine the crown and surrounding gums visually and with X-rays
- Determine if recementation, rebonding, or a new temporary crown is needed
- Remove old cement and clean the prepared tooth
- Fabricate or adjust a provisional crown using chairside or lab-based methods
- Cement the crown and check your bite for comfort
- Provide aftercare instructions and schedule your permanent crown visit
This structured approach ensures you leave with a functioning provisional crown and a clear plan for final restoration.
Preventive aftercare
Eating and oral hygiene
To keep your temporary crown in place and protect your tooth:
- Cut food into small pieces and chew on the opposite side
- Avoid sticky, hard, or chewy foods
- Brush gently with a soft-bristled toothbrush and fluoride toothpaste
- Floss carefully, using a floss threader to pass under the crown margin
- Rinse daily with an antimicrobial mouthwash if recommended
Follow up schedule
Most dentists recommend a follow up within two weeks to assess the temporary crown and prepare for your permanent restoration. Adhering to this timeline helps prevent complications such as gum irritation or shifting of adjacent teeth.
Understand permanent options
Transition to a permanent crown
Once your mouth is ready, your dentist will remove the temporary crown and take final impressions or digital scans. Permanent crowns are custom-designed to fit precisely and blend with natural teeth. According to Love Dentistry, provisional crowns typically last two to four weeks, after which prompt placement of a permanent crown prevents further issues [4].
Selecting crown materials
Permanent crowns come in various materials, including porcelain fused to metal, all-ceramic, zirconia, and gold alloys. Your dentist will help you choose based on:
- Location of the tooth and aesthetic needs
- Bite forces and durability requirements
- Budget and insurance coverage
- Allergies or sensitivities to certain metals
Cost considerations and insurance
Typical costs
Costs for temporary crown repair vary by procedure:
- Recementation: low to moderate fee
- Composite bonding: moderate fee depending on damage extent
- New provisional crown: higher fee to cover materials and lab time
Your permanent crown cost will be separate and generally higher, reflecting lab fees and material quality.
Insurance coverage tips
- Verify with your provider if provisional repairs are covered under emergency or major services
- Ask about co-payments and deductible requirements upfront
- Keep all repair receipts and clinical notes for claims
- Inquire whether your dentist offers payment plans for bigger procedures
Conclusion
Temporary crown repair is an essential step to protect your tooth, maintain function, and prepare for a permanent restoration. By recognizing damage early, stabilizing your tooth at home, and seeking prompt professional care, you safeguard your oral health and comfort. Follow preventive aftercare guidelines and plan for your permanent crown placement to ensure lasting results. If you experience any urgent issues, don’t hesitate to contact your dentist for expert emergency dental stabilization.