Tooth pain doesn’t wait for business hours, and neither should your response to it. If you’re searching for how to manage tooth pain before your dentist appointment, these steps will help you stabilize the situation, reduce the pain to a manageable level, and get you through the next 24 to 72 hours until you can be seen professionally.
Before You Start: Understand What You’re Managing
Not all tooth pain is the same, and the first decision you need to make is whether you’re dealing with something that can wait a day or whether you’re dealing with a dental emergency that requires same-day care. Treating those two situations identically is a mistake that can turn a painful inconvenience into a genuine health crisis.
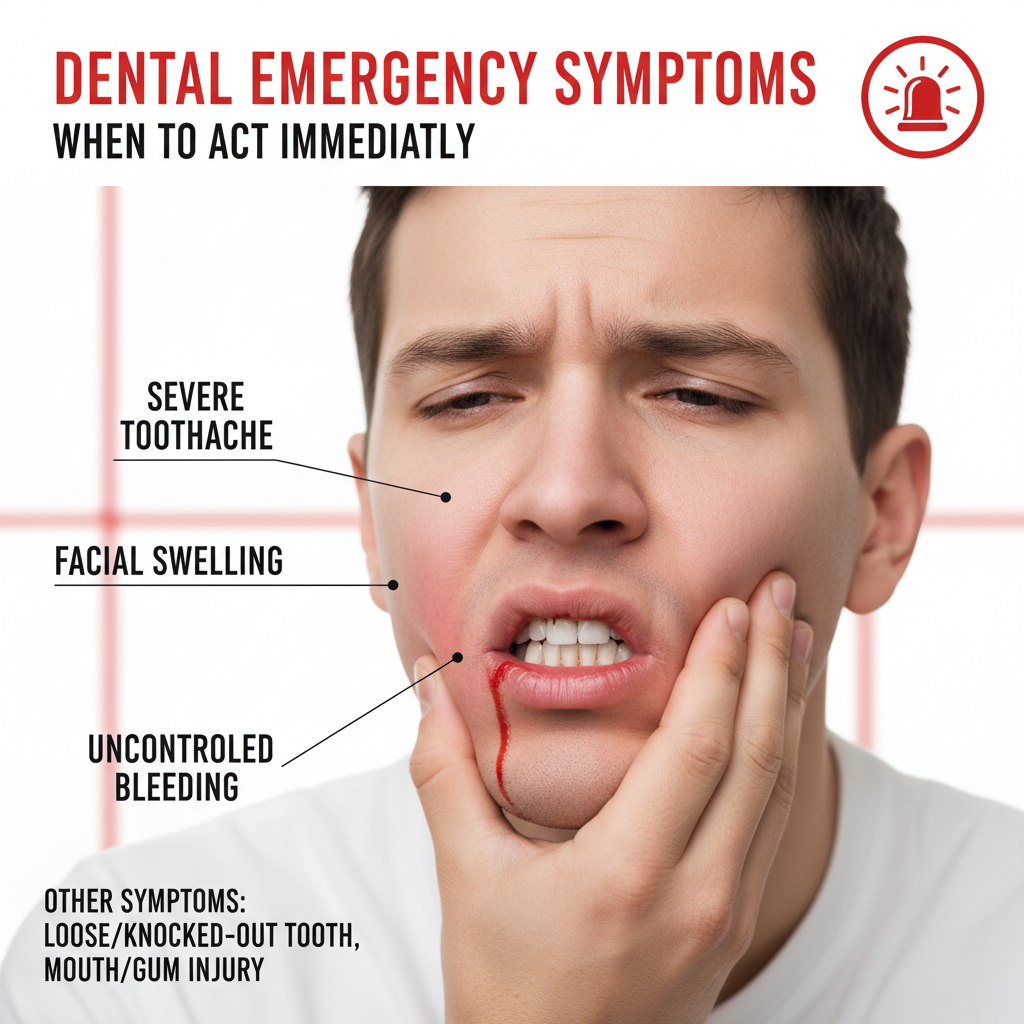
Signs You Need Emergency Care Right Now
Some symptoms mean home management is not enough. If you have facial swelling that is spreading upward toward your eye or downward toward your neck, get to an emergency dentist or emergency room today, not tomorrow. The same applies if you have a fever above 101°F alongside dental pain, or if you’re having any difficulty swallowing or breathing. These are signs of a spreading infection, and dental infections that enter the fascial spaces of the jaw and neck can become life-threatening within hours. For a closer look at what those warning signs mean and how to respond, the full breakdown on recognizing a true dental emergency is worth reviewing before you decide to wait.
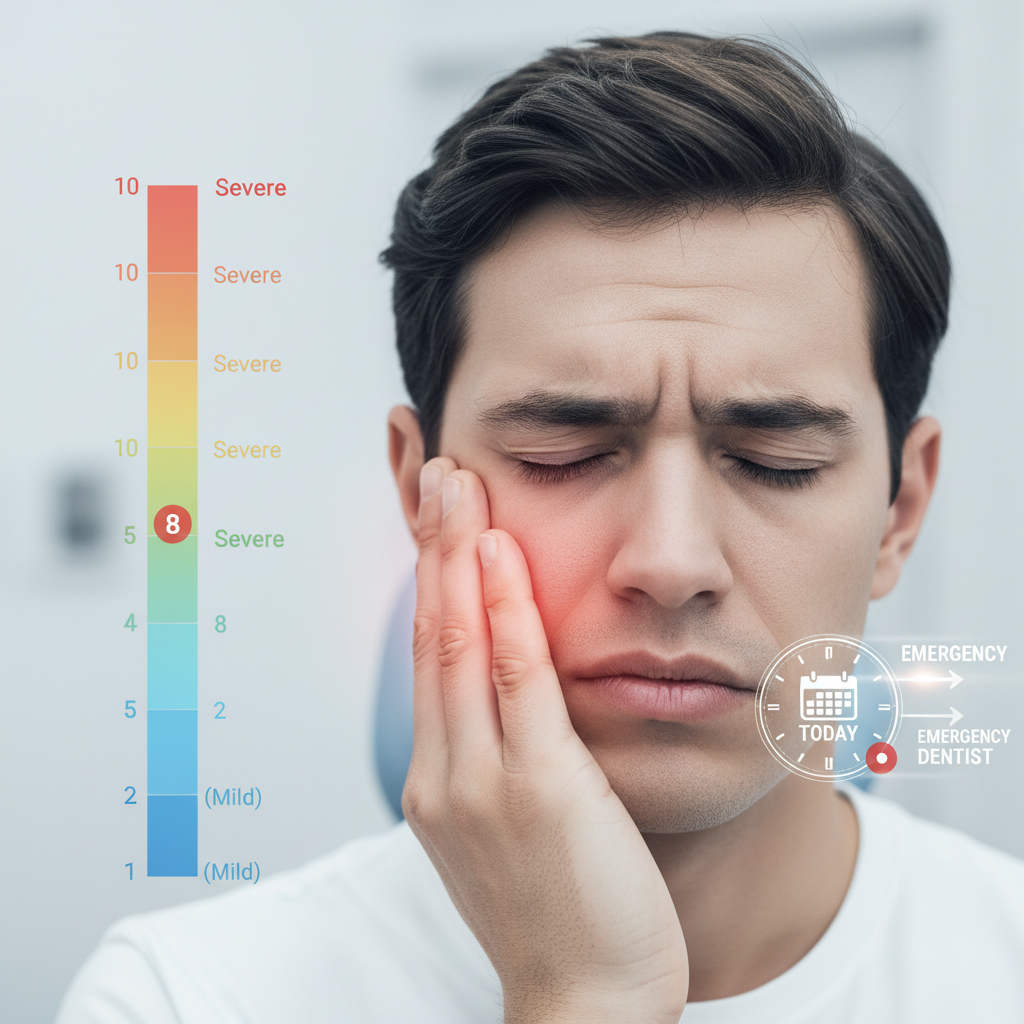
Signs Your Pain Can Be Managed Temporarily
If your pain stems from a cracked tooth, mild decay sensitivity, a lost filling, or a recently dislodged crown, you are almost certainly in a stable situation. The pain is real and it deserves attention, but nothing is actively spreading and you have a window of 24 to 72 hours to manage it at home while arranging professional care. The steps below are written for exactly this scenario.
What You’ll Need Before You Begin
Gather everything before you start. When you’re in pain, stopping mid-process to search for something wastes time and increases frustration.
Over-the-Counter Supplies
You need four items with strong clinical backing for short-term tooth pain relief: ibuprofen (400 mg tablets), acetaminophen (500 mg tablets), a topical anesthetic gel containing benzocaine such as Orajel, and clove oil. These are available at any pharmacy or grocery store and together cover both systemic and localized pain relief.
Kitchen and Household Items
Non-iodized salt, warm water, a clean cloth or thin towel, an ice pack or a bag of frozen vegetables, and a small piece of gauze. You likely already have all of these. If you’re also dealing with a lost filling, pharmacy-grade temporary filling paste (sold as Dentemp or a similar zinc oxide eugenol product) is worth picking up before you settle in.
Step 1: Take the Right OTC Pain Reliever at the Right Dose
A 2020 meta-analysis published in the Journal of the American Dental Association, covering 460 randomized controlled trials, found that the combination of ibuprofen and acetaminophen outperformed opioid prescriptions for managing acute dental pain in otherwise healthy adults. That is not a minor finding. It means the drugs already in your medicine cabinet, used correctly, are more effective than what most emergency rooms would prescribe.
How to Combine Ibuprofen and Acetaminophen Safely
The protocol is staggered alternating doses, not simultaneous dosing. Take 400 mg of ibuprofen first. Three hours later, take 500 mg of acetaminophen. Then cycle every six hours, alternating between the two. This keeps one or the other active in your system at all times without exceeding the safe daily limit for either drug. Skip ibuprofen entirely if you have kidney disease, a history of stomach ulcers, or if you are pregnant. In those cases, acetaminophen alone at the standard dosing schedule is the safer path.
What to Do If You Can Only Take One
If NSAIDs or acetaminophen are off the table for any reason, move directly to the topical approach in Steps 3 and 4 as your primary strategy. Clove oil and benzocaine gel, applied correctly, provide meaningful localized relief even without systemic medication.
Step 2: Rinse With Warm Salt Water
A 2019 study published in the Journal of International Society of Preventive and Community Dentistry, conducted with 206 participants, confirmed that saline rinses reduce oral bacterial load and lower gingival inflammation within 24 hours of consistent use. For a tooth that is already sensitive or irritated, keeping bacterial activity low is directly tied to keeping pain from escalating.
The Correct Salt-to-Water Ratio and Technique
Dissolve one-half teaspoon of non-iodized salt in eight ounces of warm water. Not hot, warm. Hot water increases blood flow to inflamed tissue and can intensify nerve pain. Swish for a full 30 seconds, then spit. Do not swallow. The salt concentration matters here: too dilute and it doesn’t draw fluid from swollen tissue, too concentrated and it irritates the nerve further. The half-teaspoon ratio hits the therapeutic window.
How Often to Repeat the Rinse
Rinse every two to three hours during waking hours, and immediately after eating anything. Food debris left near the affected tooth reintroduces bacteria to the site and can trigger another pain spike. Treating every post-meal rinse as non-negotiable makes a noticeable difference by the second day.
Step 3: Apply a Cold Compress to the Outside of Your Jaw
A 2021 review published in Pain Research and Management, covering 18 clinical trials, found that topical cold application reduced acute orofacial pain intensity by an average of 34% within 20 minutes. The mechanism is straightforward: cold constricts local blood vessels and slows nerve signal transmission, giving you a real and measurable reduction in pain without any additional medication.
The 20-On, 20-Off Rule
Wrap an ice pack or a bag of frozen vegetables in a thin cloth and apply it to the cheek directly over the painful tooth for 20 minutes. Remove it for 20 minutes. Repeat. Never apply ice directly to skin. Direct contact causes frostbite within minutes, which adds a new injury to the one you are already managing. Heat is the other common mistake. A heating pad or warm compress feels instinctively soothing but increases inflammation and makes dental pain measurably worse. Cold only.
Step 4: Use Clove Oil as a Targeted Topical Anesthetic
Eugenol, the active compound in clove oil, is the same agent used in professional dental cements and cavity liners for over a century. A 2023 study in Evidence-Based Complementary and Alternative Medicine, with a sample of 112 participants, confirmed that eugenol applied directly to an exposed nerve or cavity reduced pain scores by 40% compared to placebo within five minutes. That five-minute onset makes it one of the fastest-acting options available without a prescription.
How to Apply Clove Oil Without Irritating Soft Tissue
Dilute pure clove oil with a neutral carrier oil, coconut or olive oil, at a 1:1 ratio before applying it. Put a small amount on a cotton ball and press it directly against the affected tooth, holding it in place for 30 to 60 seconds. Undiluted clove oil on gum tissue causes chemical burns. The dilution step is not optional. If you experience any burning sensation on surrounding soft tissue, remove the cotton ball immediately and rinse with water.
When to Use Benzocaine Gel Instead
If clove oil is unavailable, benzocaine gel applied with a clean fingertip or cotton swab directly to the affected area provides similar localized numbing. Follow the label dosing instructions and avoid using benzocaine products in children under two years old. The FDA has flagged high repeated doses in adults as a risk for methemoglobinemia, a rare but serious blood condition, so use it at labeled doses and only as needed.
Step 5: Protect the Tooth From Further Irritation
A 2022 report from the American Association of Endodontists noted that a significant proportion of patients who arrived with worsened pain between initial onset and their appointment reported eating on the affected side or consuming temperature-extreme foods. The steps above reduce your pain. This step keeps it from getting worse.
Foods and Drinks to Avoid Until Your Appointment
Cold, hot, sweet, and hard foods all directly stimulate an already-inflamed or exposed nerve. That means no ice water, no hot coffee, no candy, and nothing that requires real biting force. The practical replacement is room-temperature soft foods eaten on the opposite side of the mouth. Yogurt, mashed potatoes, soft bread, and bananas are all workable options that keep your caloric intake up without giving the affected tooth anything to react to.
Sleep Position Adjustment for Nighttime Pain
Lying flat increases blood pressure to the head, which intensifies throbbing tooth pain. Before you go to bed, add an extra pillow to elevate your head by about 30 degrees. This single adjustment reduces vascular pressure at the site and has an immediate effect on the intensity of nighttime pain. It is the simplest version of this step and it works.
Step 6: Use a Temporary Dental Filling Material for Lost Fillings or Crowns
Pharmacy-grade temporary filling paste creates a physical barrier over exposed dentin or pulp, blocking the triggers that cause pain: air, temperature changes, and chewing pressure. If you have lost a filling or a crown has come loose, this step makes a significant difference in comfort while you wait for your appointment. For situations involving a knocked-out tooth, the approach is different entirely, and what to do when a tooth is completely displaced requires its own protocol.
Replacing a Lost Filling Temporarily
Clean the cavity gently with warm water and dry it as thoroughly as you can with a small piece of gauze. Press a small amount of temporary filling paste into the cavity using a clean fingertip or the applicator included in the kit. Bite down gently to seat it at the correct bite height. If it feels high when you close your mouth, press it down slightly before it sets. This is a bridge measure, not a repair. The tooth still needs professional treatment within 48 to 72 hours.
Re-cementing a Loose or Dislodged Crown
Clean the inside of the crown and dry it. Apply a thin layer of temporary dental cement, available at any pharmacy, to the inside surface and seat the crown carefully onto the tooth. Bite down gently to set it. If the crown cannot be re-seated because of swelling or discomfort, do not force it. Place it in a small zip-lock bag and bring it to your appointment. A crown that cannot be re-seated at home can still be re-cemented professionally.
Step 7: Manage the Anxiety That Makes Pain Worse
A 2020 study from King’s College London’s Dental Institute, with 512 participants, found that dental pain catastrophizing increased reported pain intensity by 28% independently of the clinical severity of the condition. In plain terms: the anxiety response around dental pain amplifies the pain signal itself, and interrupting that cycle produces a measurable reduction in perceived intensity.
The 4-7-8 Breathing Reset
At the onset of a pain spike, use the 4-7-8 technique: inhale for 4 counts, hold for 7, exhale for 8. A 2022 study published in Frontiers in Psychology found this pattern activates the parasympathetic nervous system within three to four cycles, measurably lowering perceived pain intensity. Use it alongside your medication, not instead of it. Three or four complete cycles at the start of a pain spike is enough to take the edge off the anxiety component and let the medication do its work more effectively.
Troubleshooting: When Home Management Stops Working
The steps above are stabilization tools. They buy time. If any of the following three scenarios develop, the situation has moved beyond what home management can address.
The first is abscess formation. If swelling grows noticeably over a 12 to 24-hour window, if you can see a pimple-like bump on the gum near the tooth, or if a fever develops alongside the dental pain, you are dealing with an abscess. The safe relief steps for a dental abscess can help bridge the gap, but professional drainage is required. Home treatment alone will not resolve an abscess.
The second scenario is a fracture that extends below the gumline. If the pain is severe, constant, and completely unresponsive to the full medication and topical protocol above, the nerve may be exposed at a depth that topical agents cannot reach. That requires endodontic treatment, not a patch.
The third is jaw pain spreading toward the ear or temple. This pattern of referred pain suggests involvement beyond a single tooth and warrants same-day evaluation.
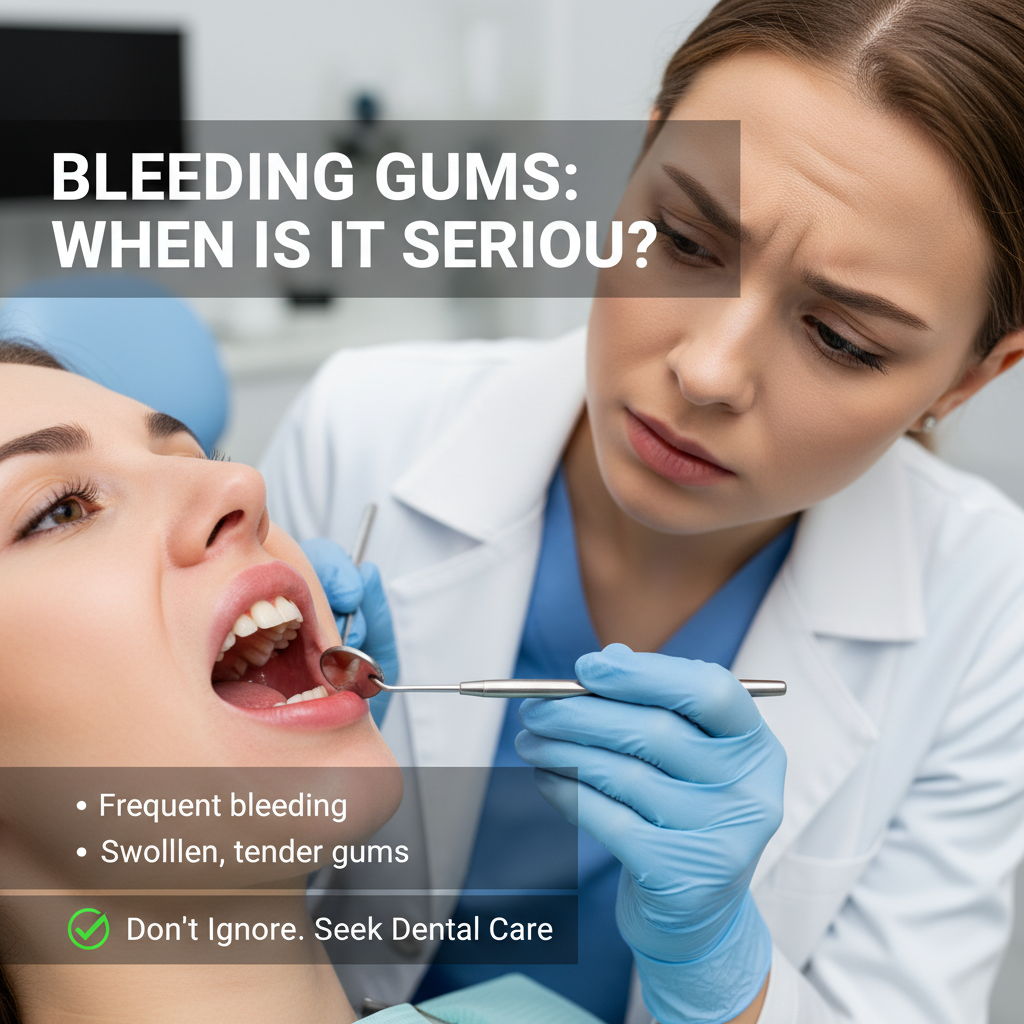
How to Tell If Swelling Is Getting Dangerous
Dental infections spread through the fascial spaces of the jaw quickly. Watch for swelling that crosses the midline of your face, trismus (difficulty opening your mouth more than two fingers wide), or swelling that is pushing one eye partially closed. Any of these signs means an emergency room visit, not a dentist appointment. These are not situations where waiting until morning is acceptable.
Get Seen Within 24 to 72 Hours
Every step in this guide buys time. None of it fixes the underlying problem. The only thing that resolves a cracked tooth, an exposed nerve, a failing filling, or an abscess is professional dental treatment, and delaying that treatment allows the condition to worsen.
When you call to book, have three things ready: a description of the pain (sharp, throbbing, constant, or triggered by temperature), when it started, and any visible damage you can see. That information lets the dental team prepare appropriately and often determines whether you get same-day access.
Charlotte Emergency Dental is open seven days a week and accepts walk-ins. If you are in the Charlotte metro area and in pain right now, the right move is to come in today.